Change of phone – for many of us, it’s a moment eagerly awaited for months, if not years. For others, it is a source of much stress – transferring data, contacts, learning a new interface, changing habits regarding size. Undoubtedly, there is also anxiety related to the desire to keep the new acquisition in the best – possibly pristine – condition for as long as possible.
It is obvious to choose a case that will fulfill its role – that is, protect the phone – while also pleasing the eye and not excessively spoiling its lines. The choice is relatively simple – manufacturers are doing their best to ensure that the options are truly diverse and tailored to many tastes and needs. We make a decision, buy, put it on – topic closed.
However, a slightly different situation occurs in the case of tempered glass. Its role is to protect the screen from unwanted scratches, impacts, and falls – some might argue that it is a more important element than the case itself. The choice, just like with cases, is also considerable. From the cheapest options from the Middle Kingdom to the highest quality models with a sapphire finish. However, in this case, making a decision and purchasing is only half – perhaps even less – of the success. The most expensive glass on the market will be of no use if we fail during its installation. 🙂
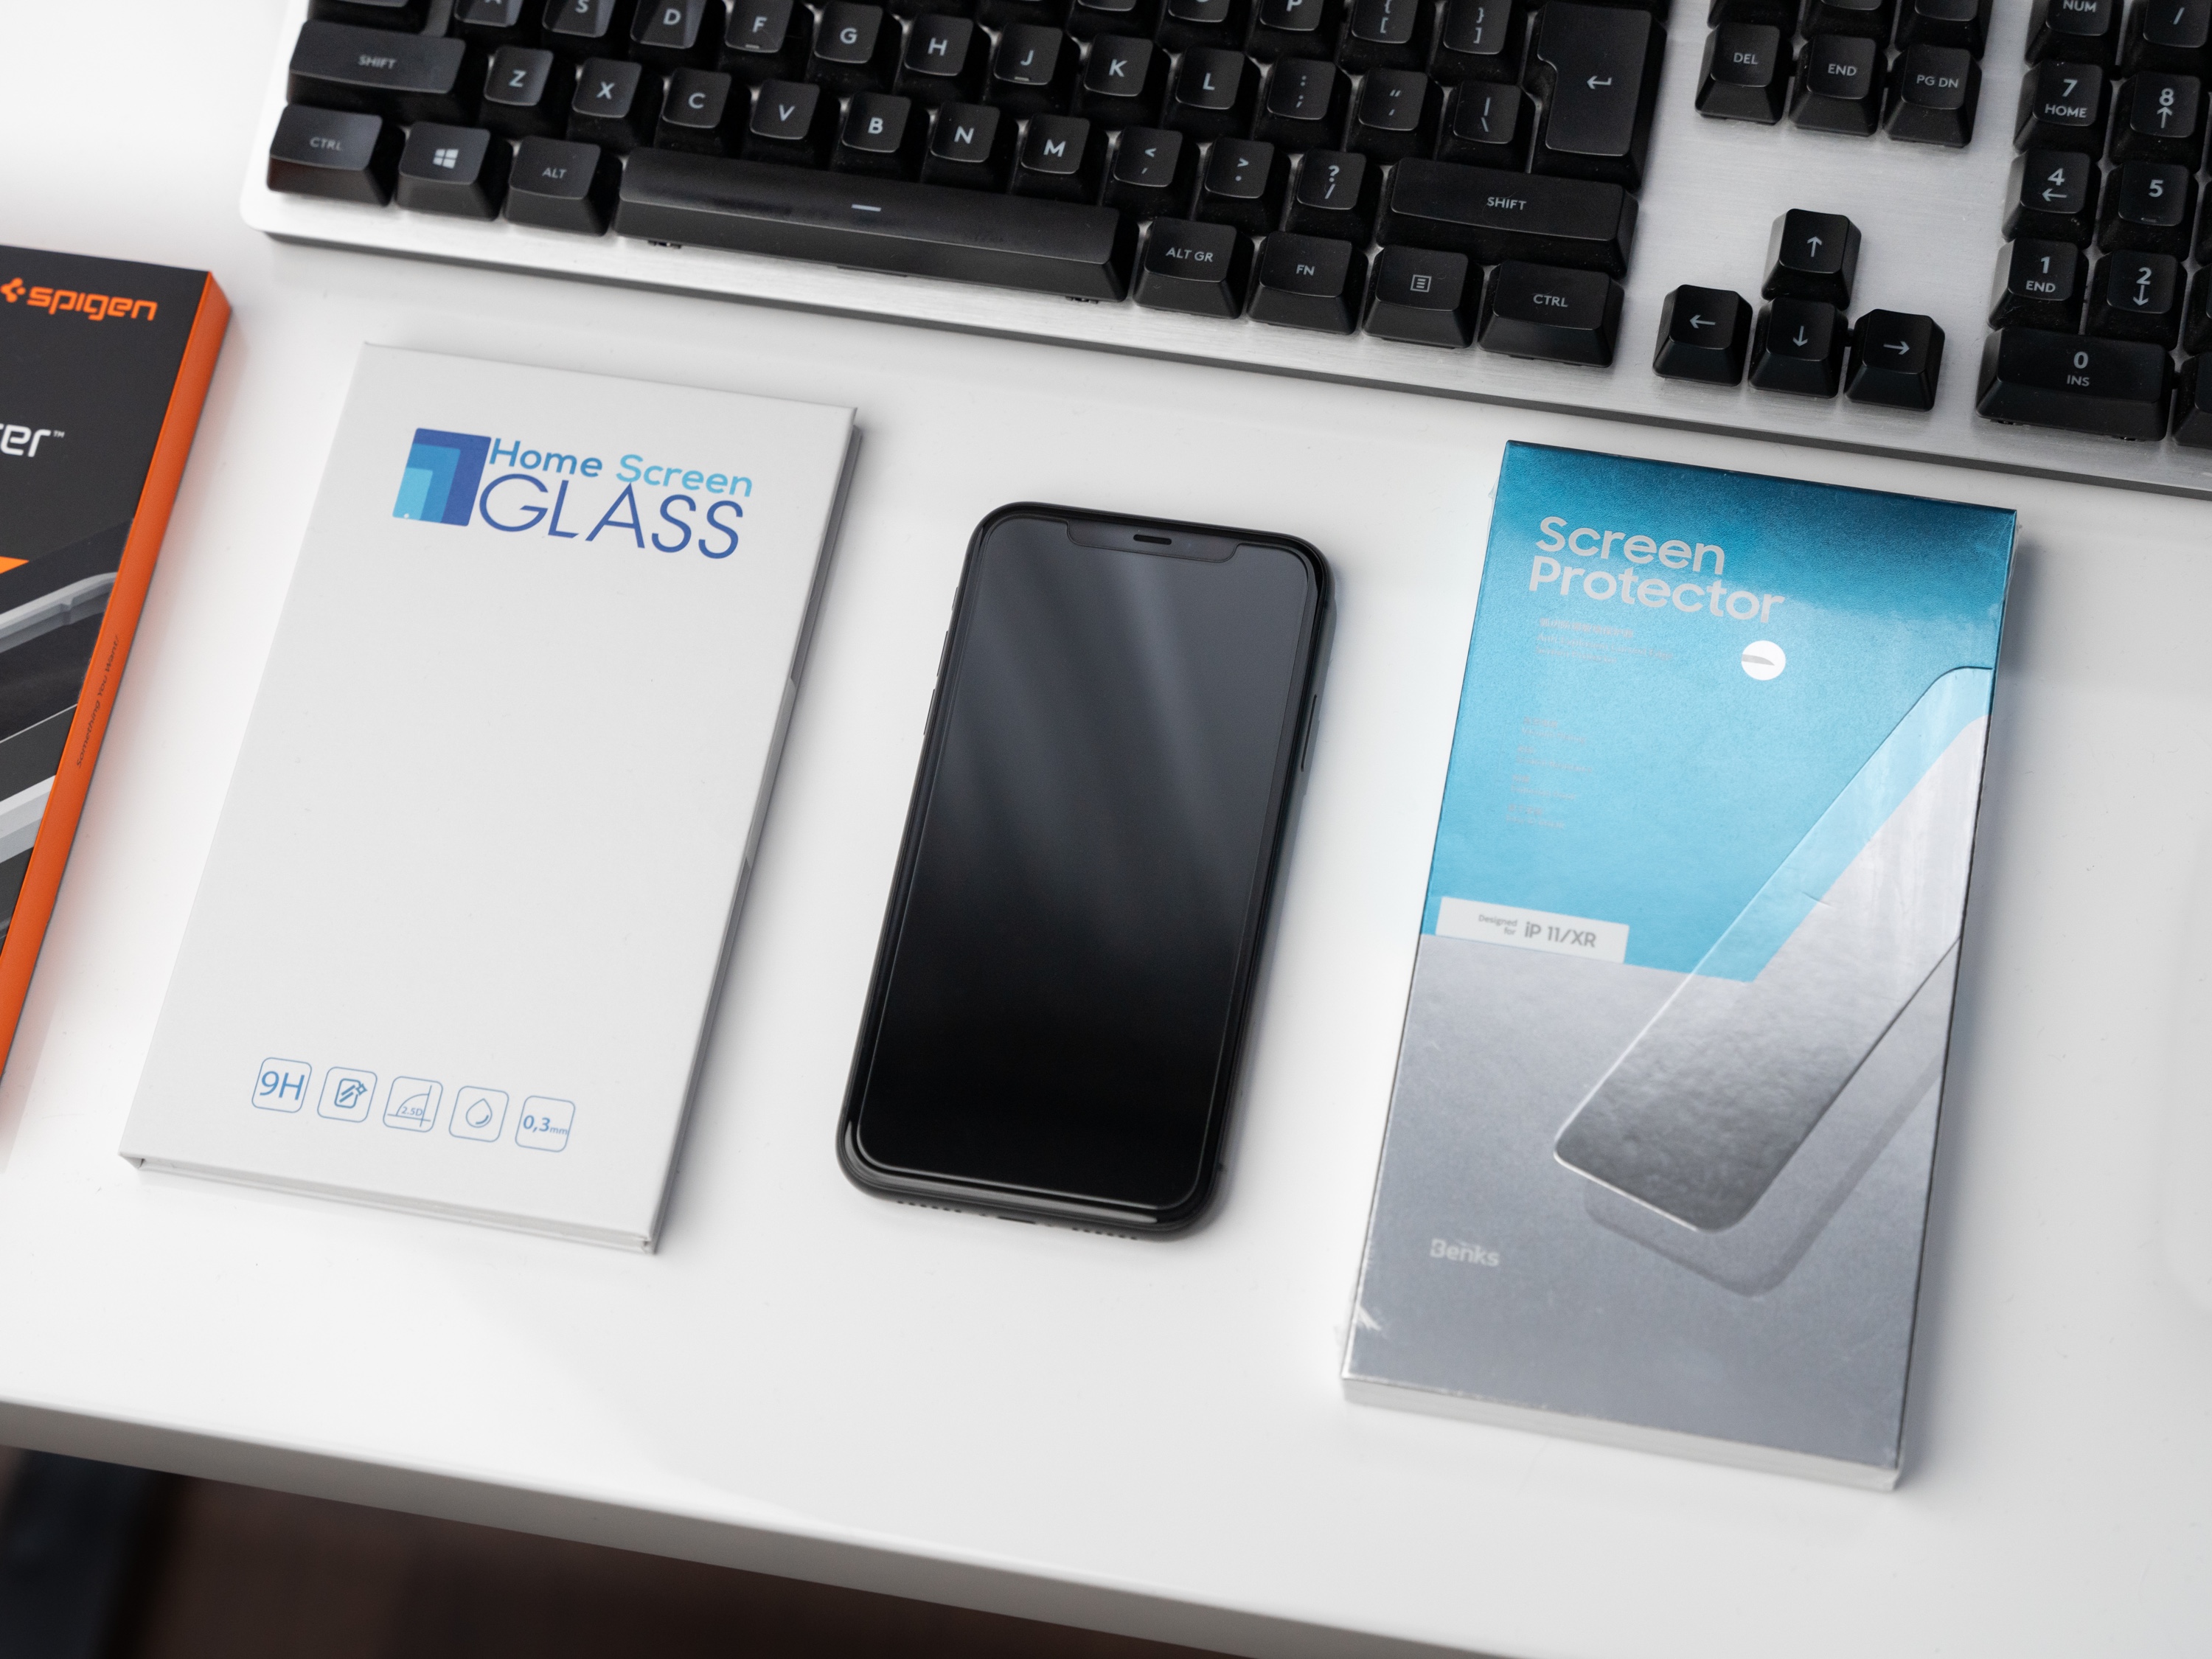
A fully symmetrical, equal, and clean application of screen protection is not as difficult as it might seem – it only takes a little manual dexterity, a dusted piece of desk/table to perform the «procedure,» and a few minutes of moderate focus. The modest price, which we pay, will reward us with screen protection that is close to factory-like and as non-invasive as possible.
Let’s get started!
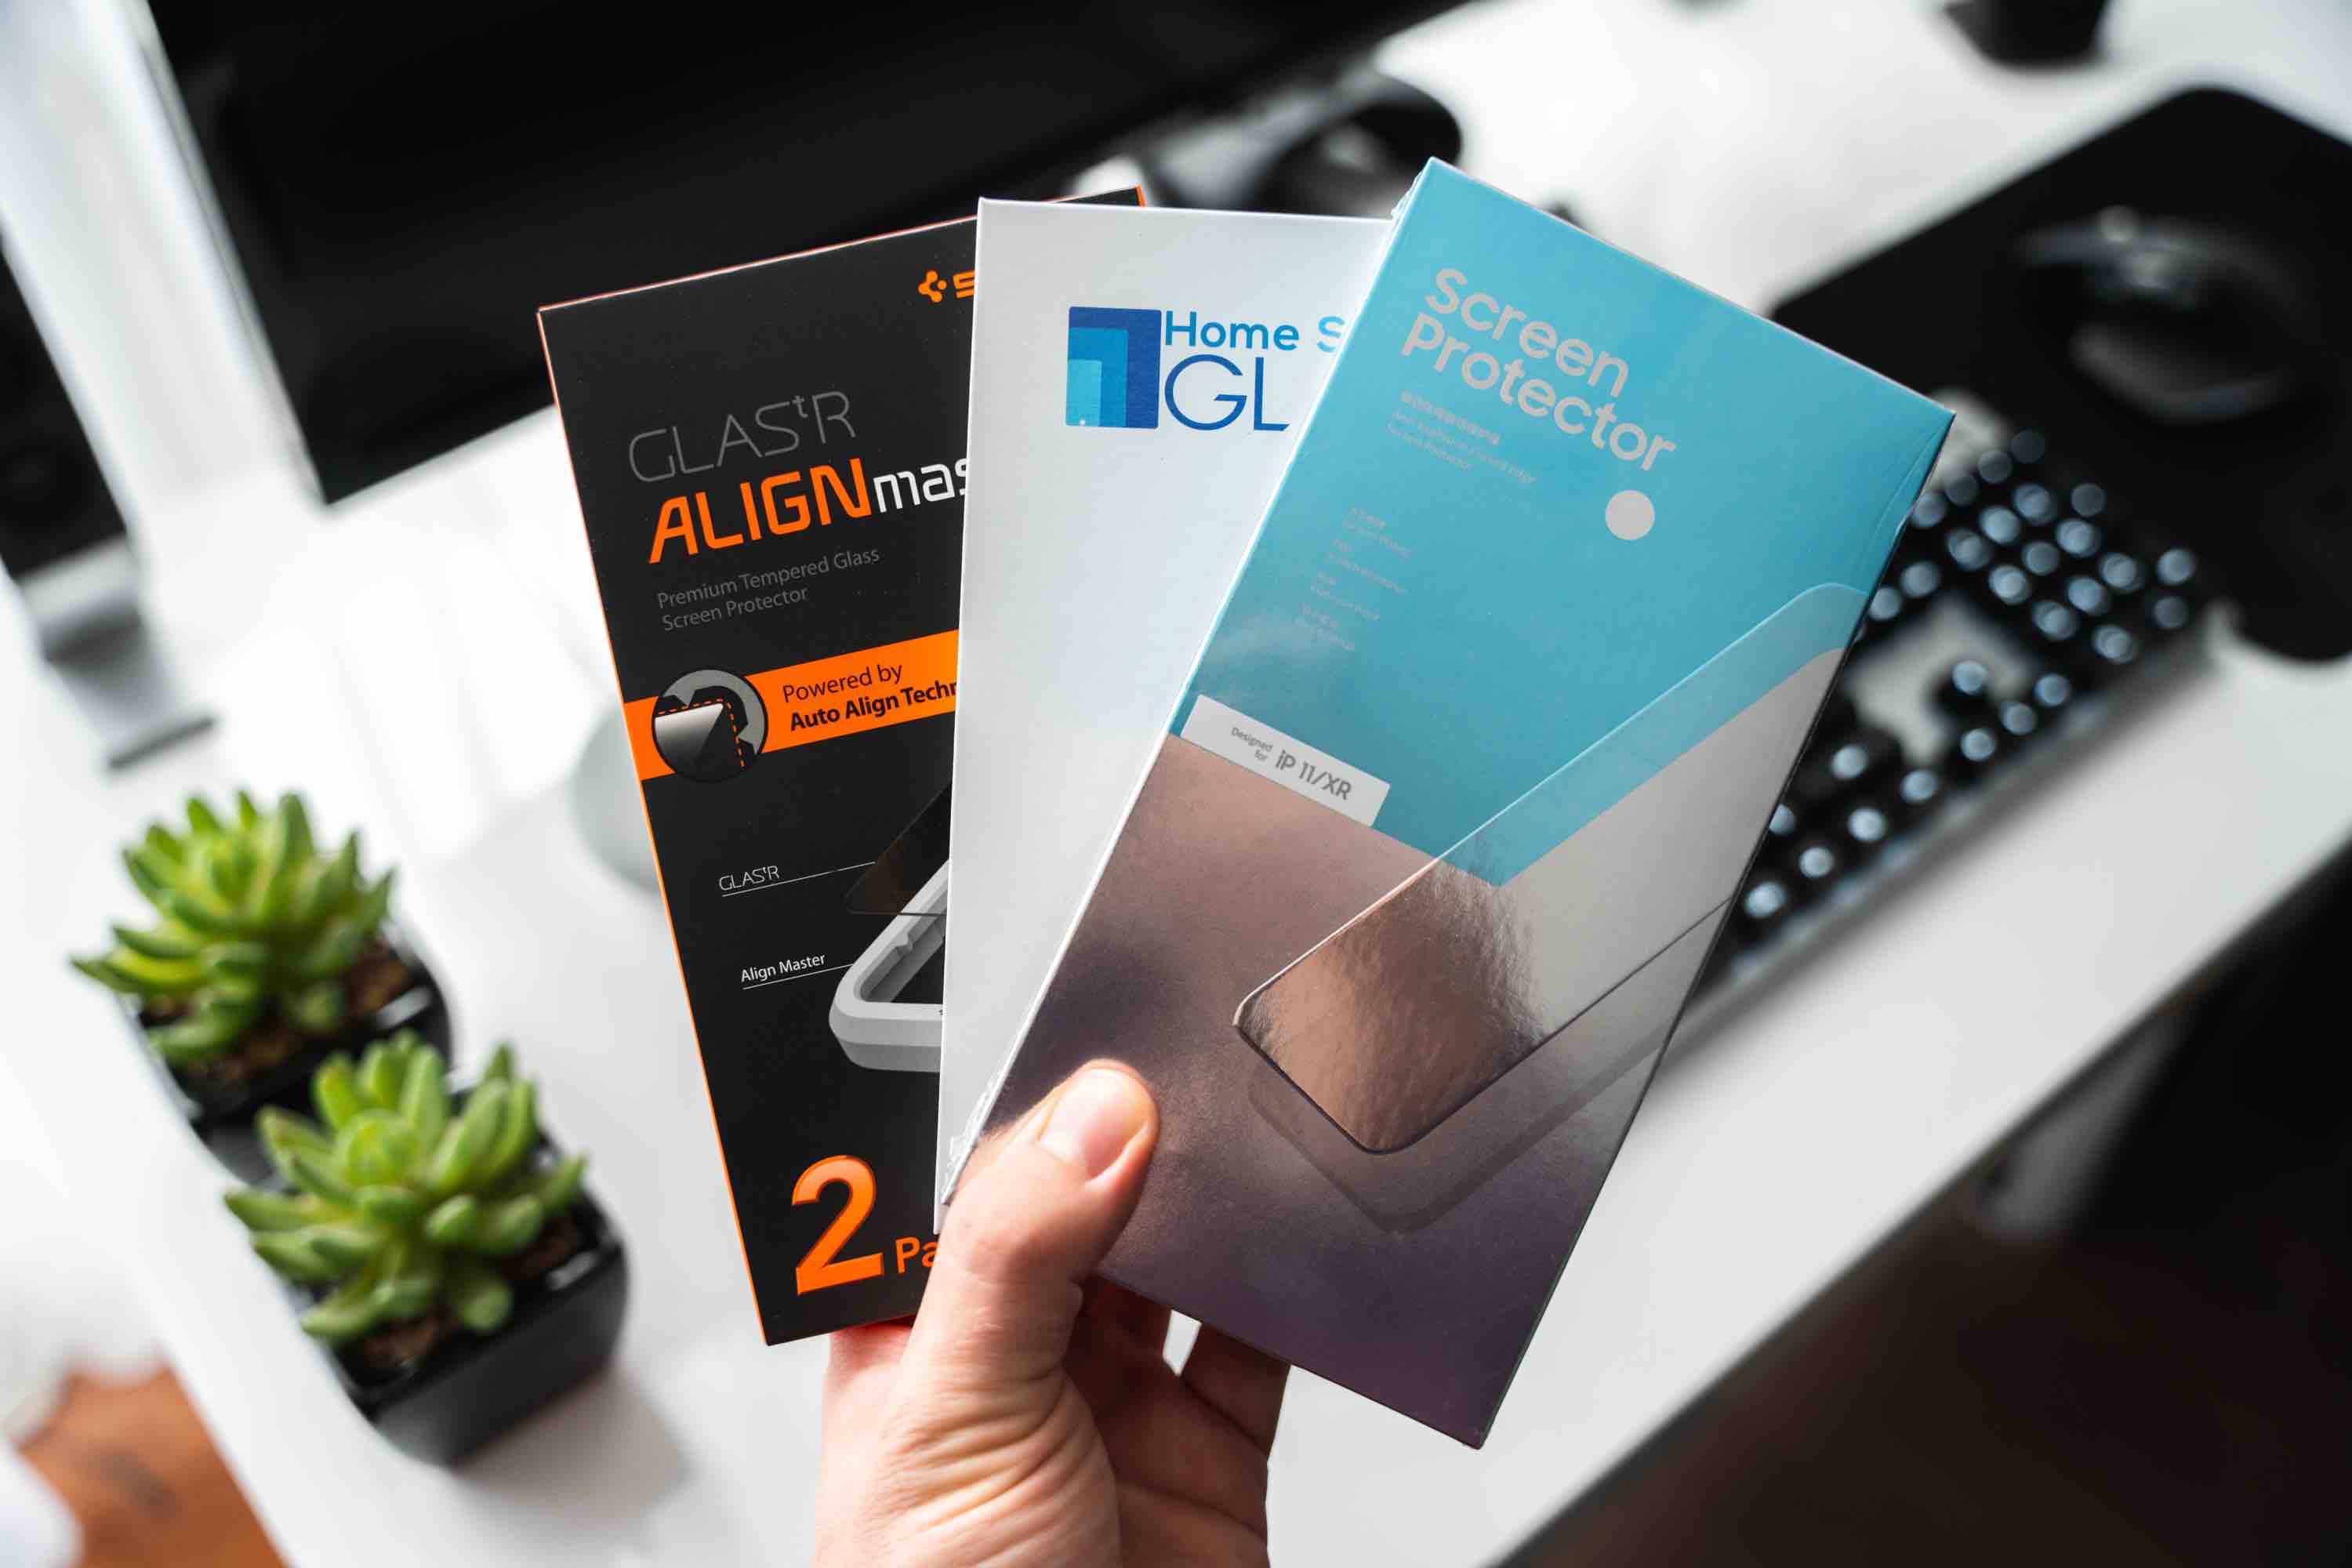
The set of accessories that we find in the packaging with the glass usually depends on the price we paid for the given protection. In the case of cheaper options, one can hardly expect anything other than a set of dry and alcohol-soaked wipes and a set of stickers for «dusting» the screen. On the other hand, higher-end options usually come with a microfiber cloth (which is definitely more effective in cleaning the screen) and accessories designed to facilitate the installation process – including a mounting frame that allows the phone to be placed in it, which helps maintain symmetry during the glass application. For the purposes of this guide, however, we will go «raw,» opting for a fully manual installation – contrary to appearances, frames in some situations can do more harm than good.
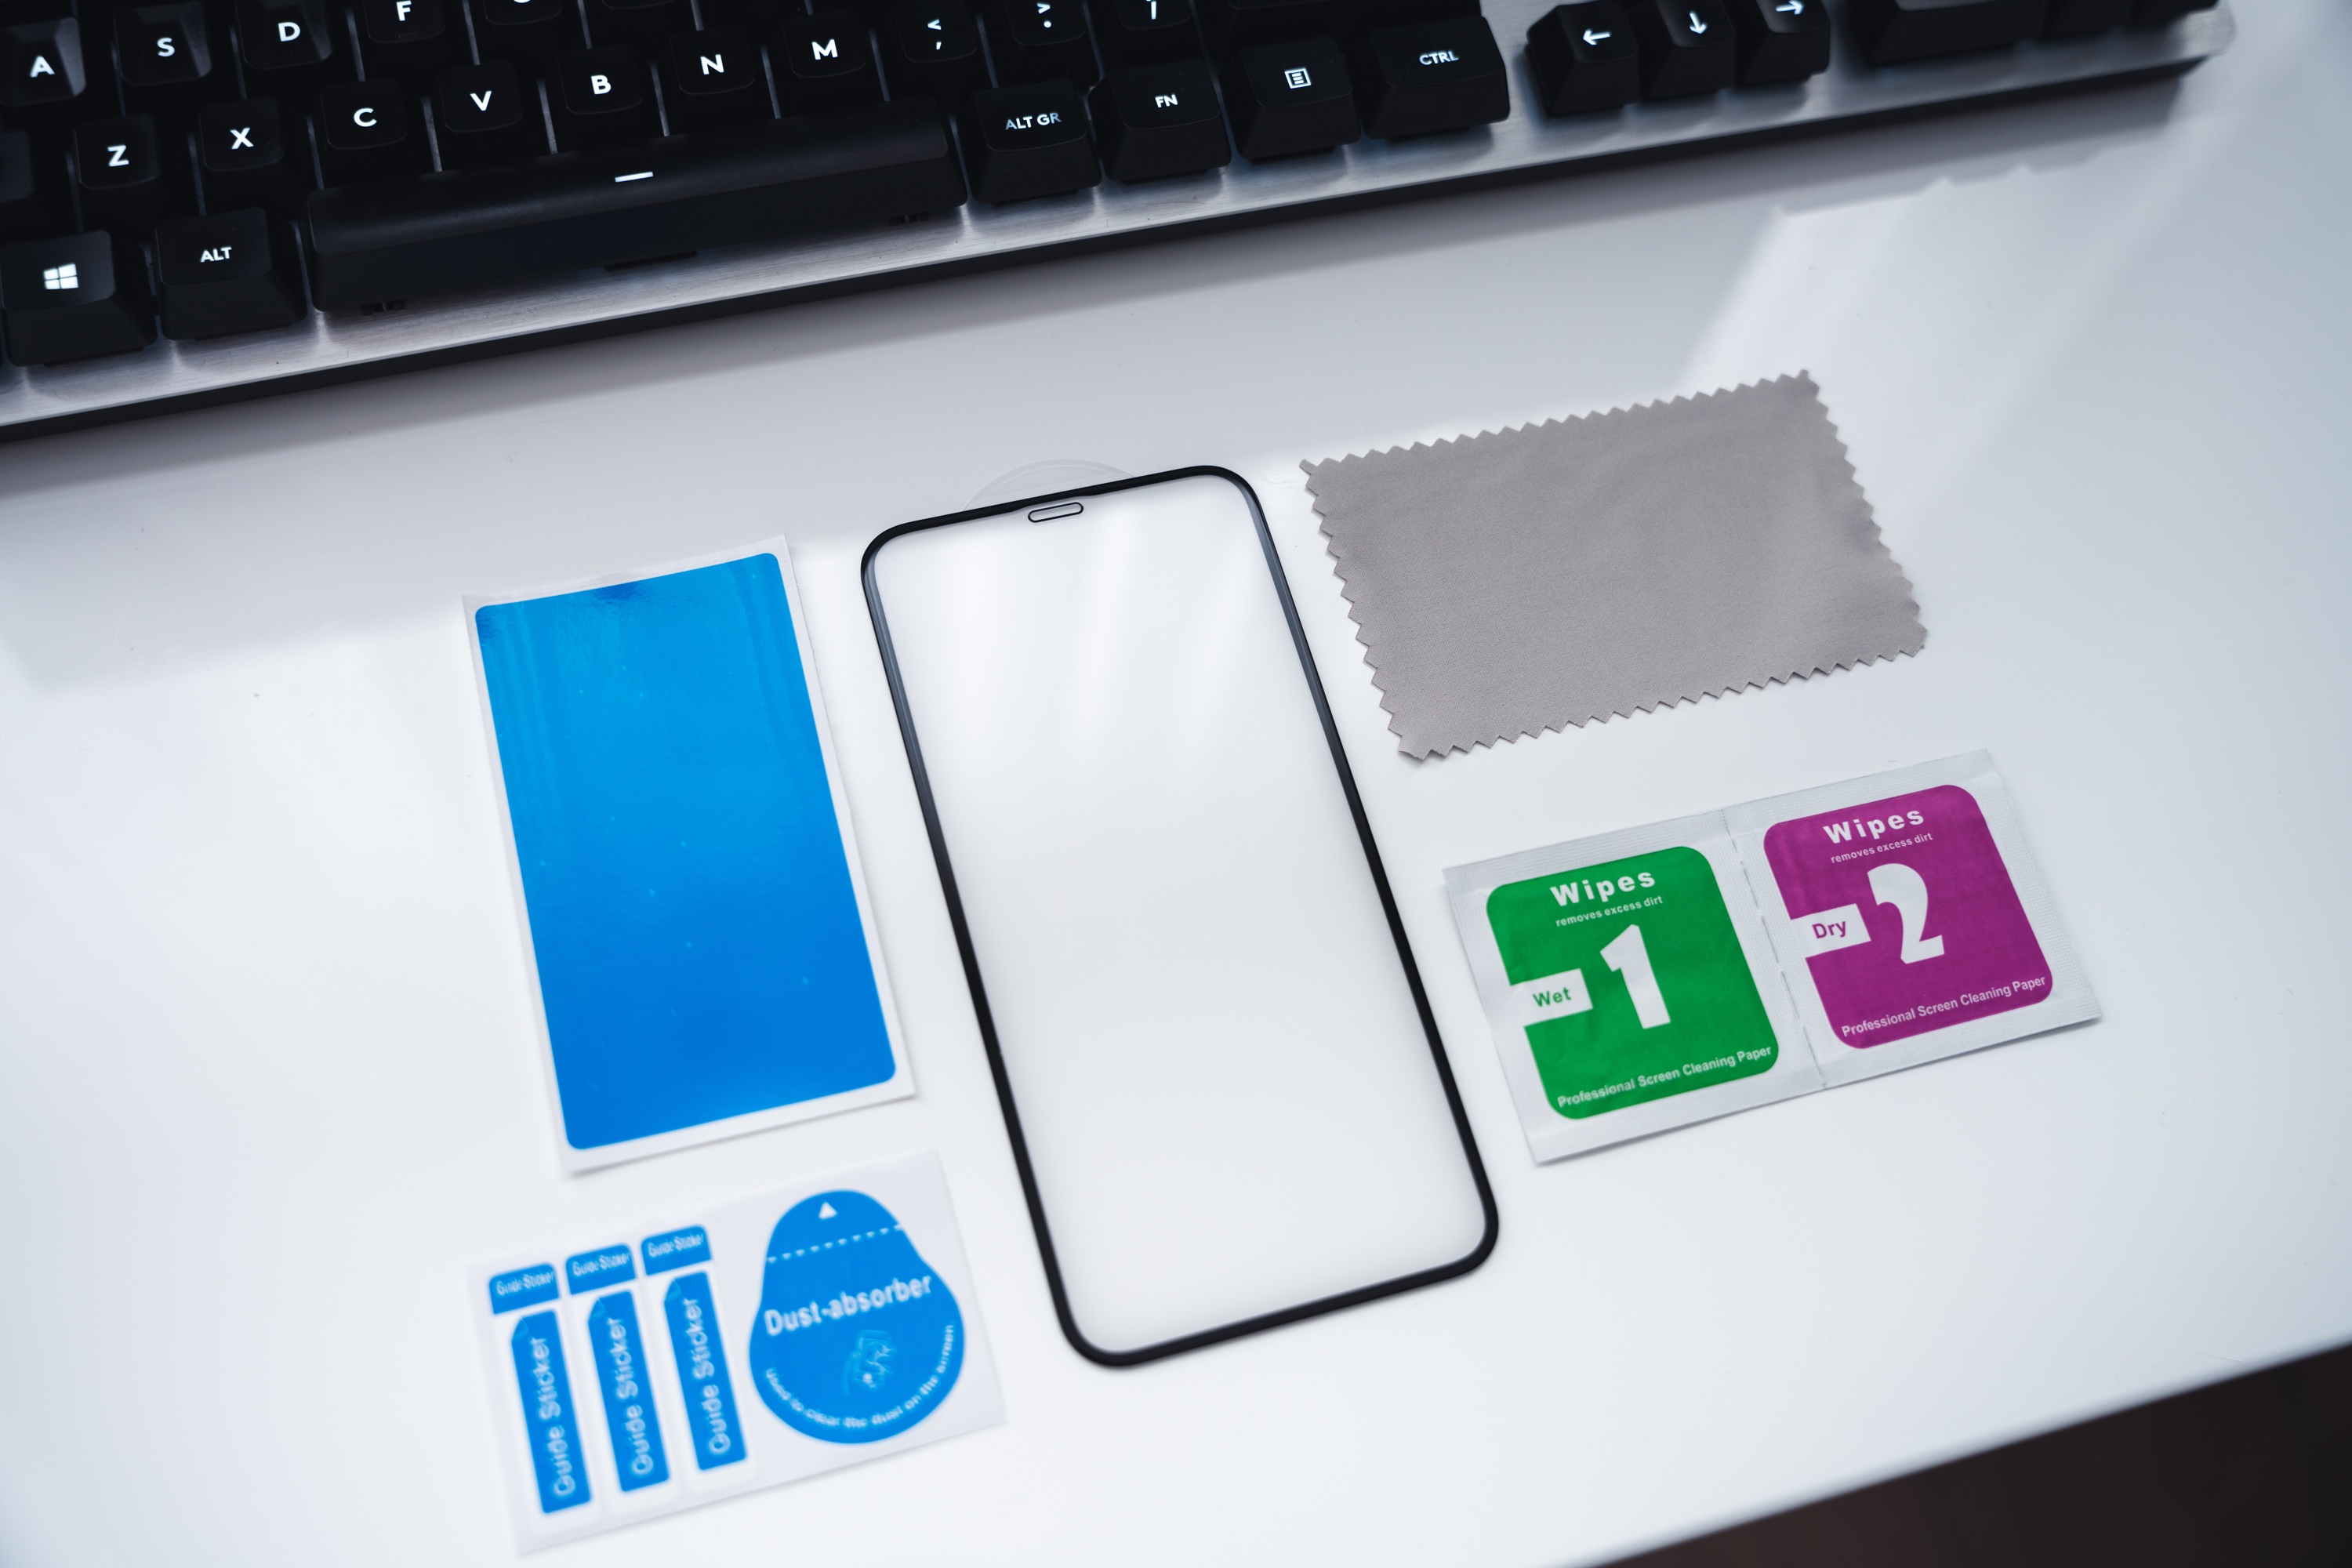
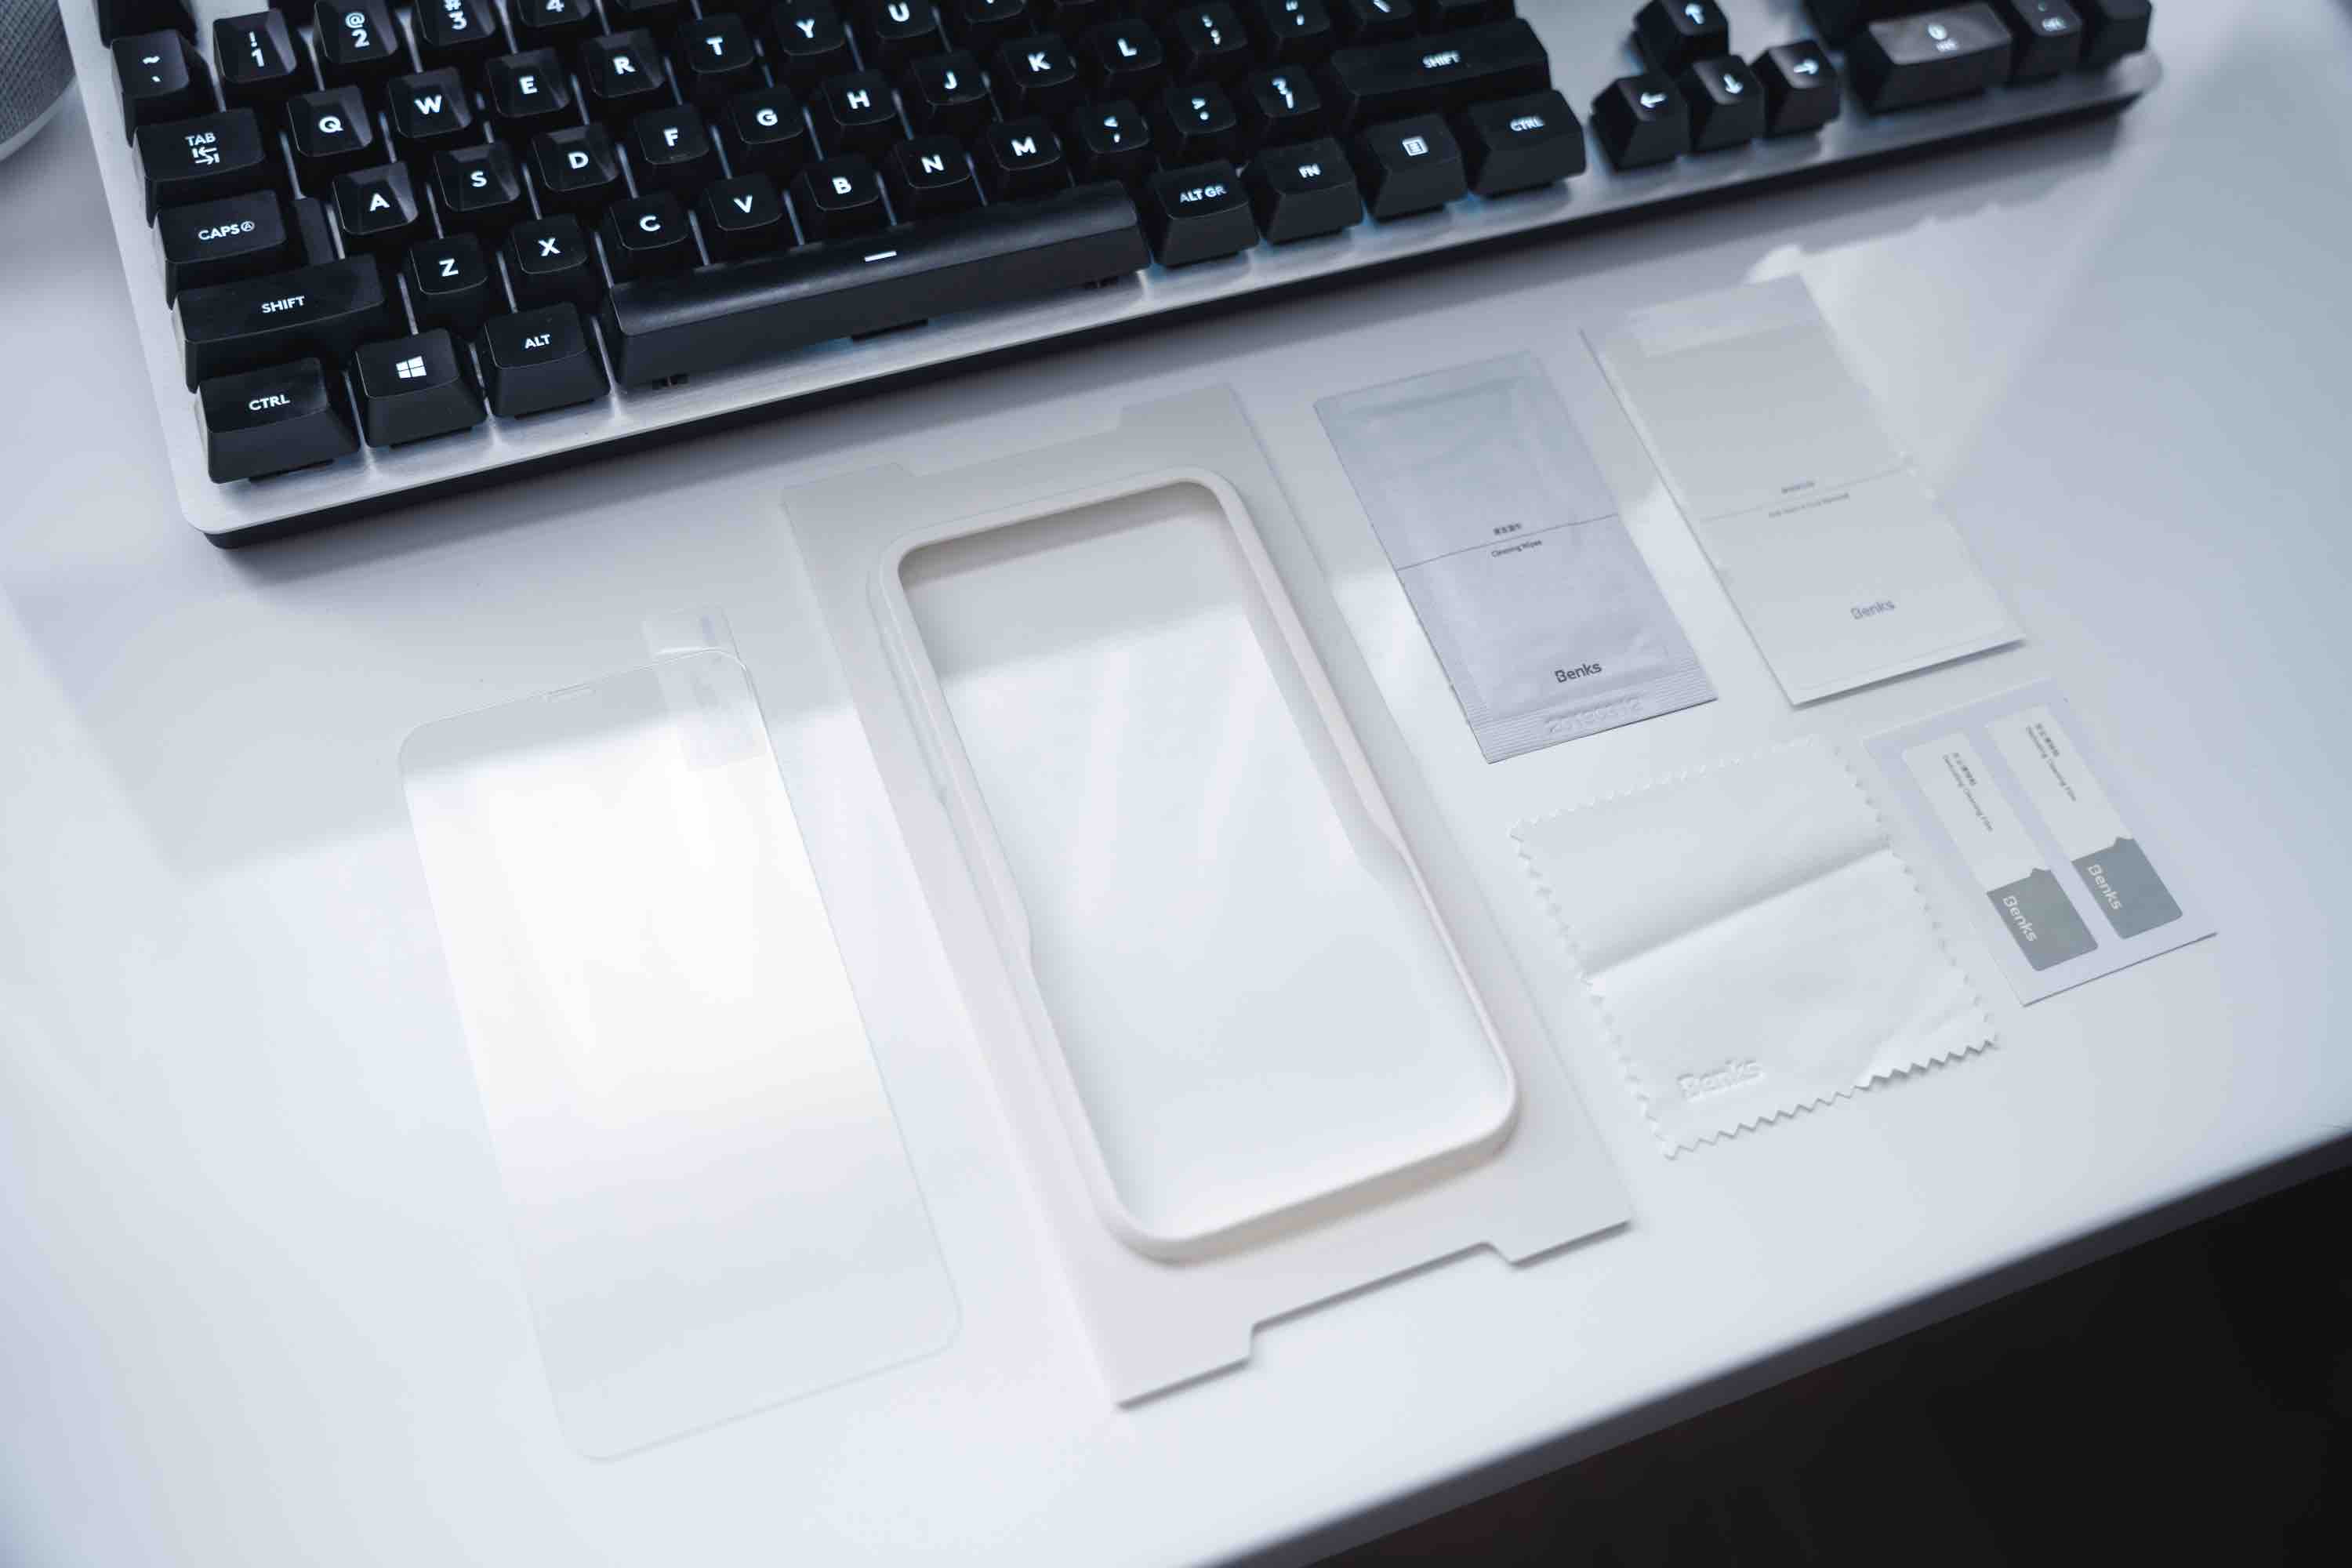
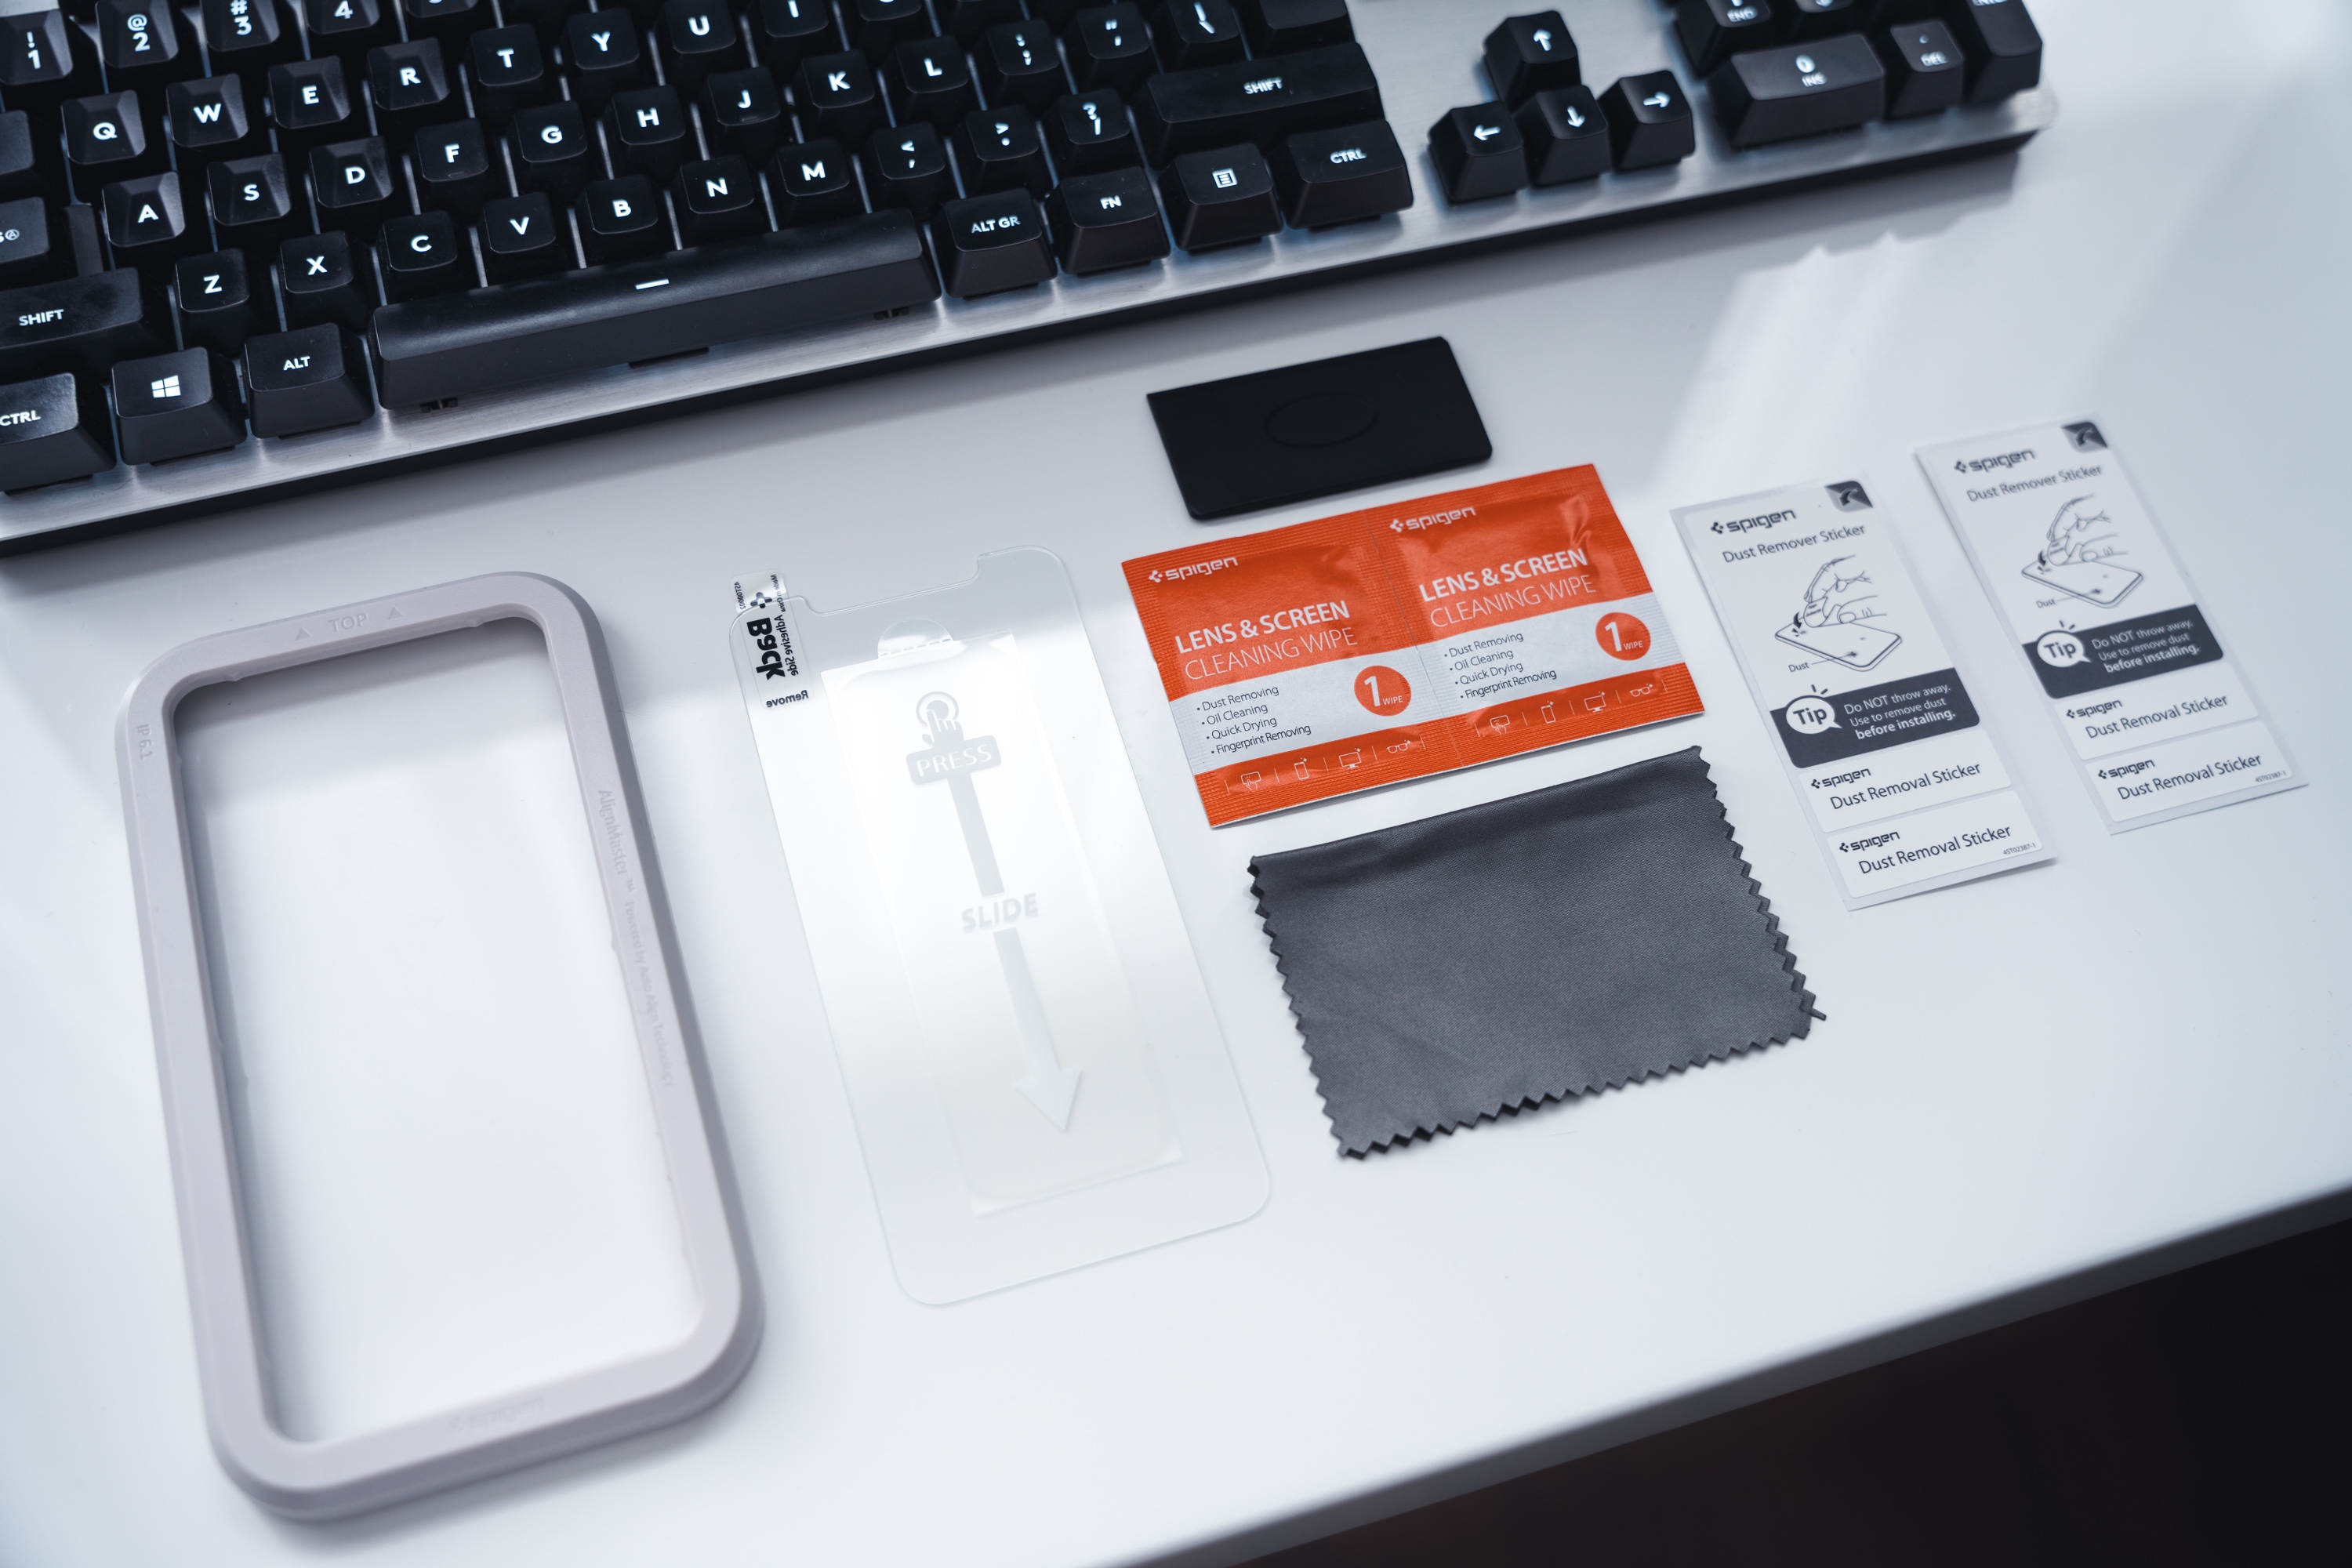
For many, the biggest difficulty may be maintaining cleanliness during installation. What good is it if the glass is applied perfectly straight, if numerous specks gather on its surface and the screen? Unfortunately, there is no magic wand that will eliminate every floating particle in the air 100% – however, wiping the surface where we decided to install it with a damp cloth will definitely help. A popular method is also to perform the «procedure» of applying tempered glass in a steamy (for example, after a bath) bathroom – high humidity in the air will guarantee fewer contaminants floating around, which in turn will translate to a longer «window» between removing the protective film from the glass and applying it to the clean screen.
A very common mistake that makes it difficult to correctly apply tempered glass is simply… the positioning of the phone. Having it in front of us horizontally (on the longer side) allows us to hold the glass by the shorter sides, which guarantees us a much more comfortable maneuverability of the glass and makes it easier to hold. A seemingly silly thing, but in practice, it changes a lot.
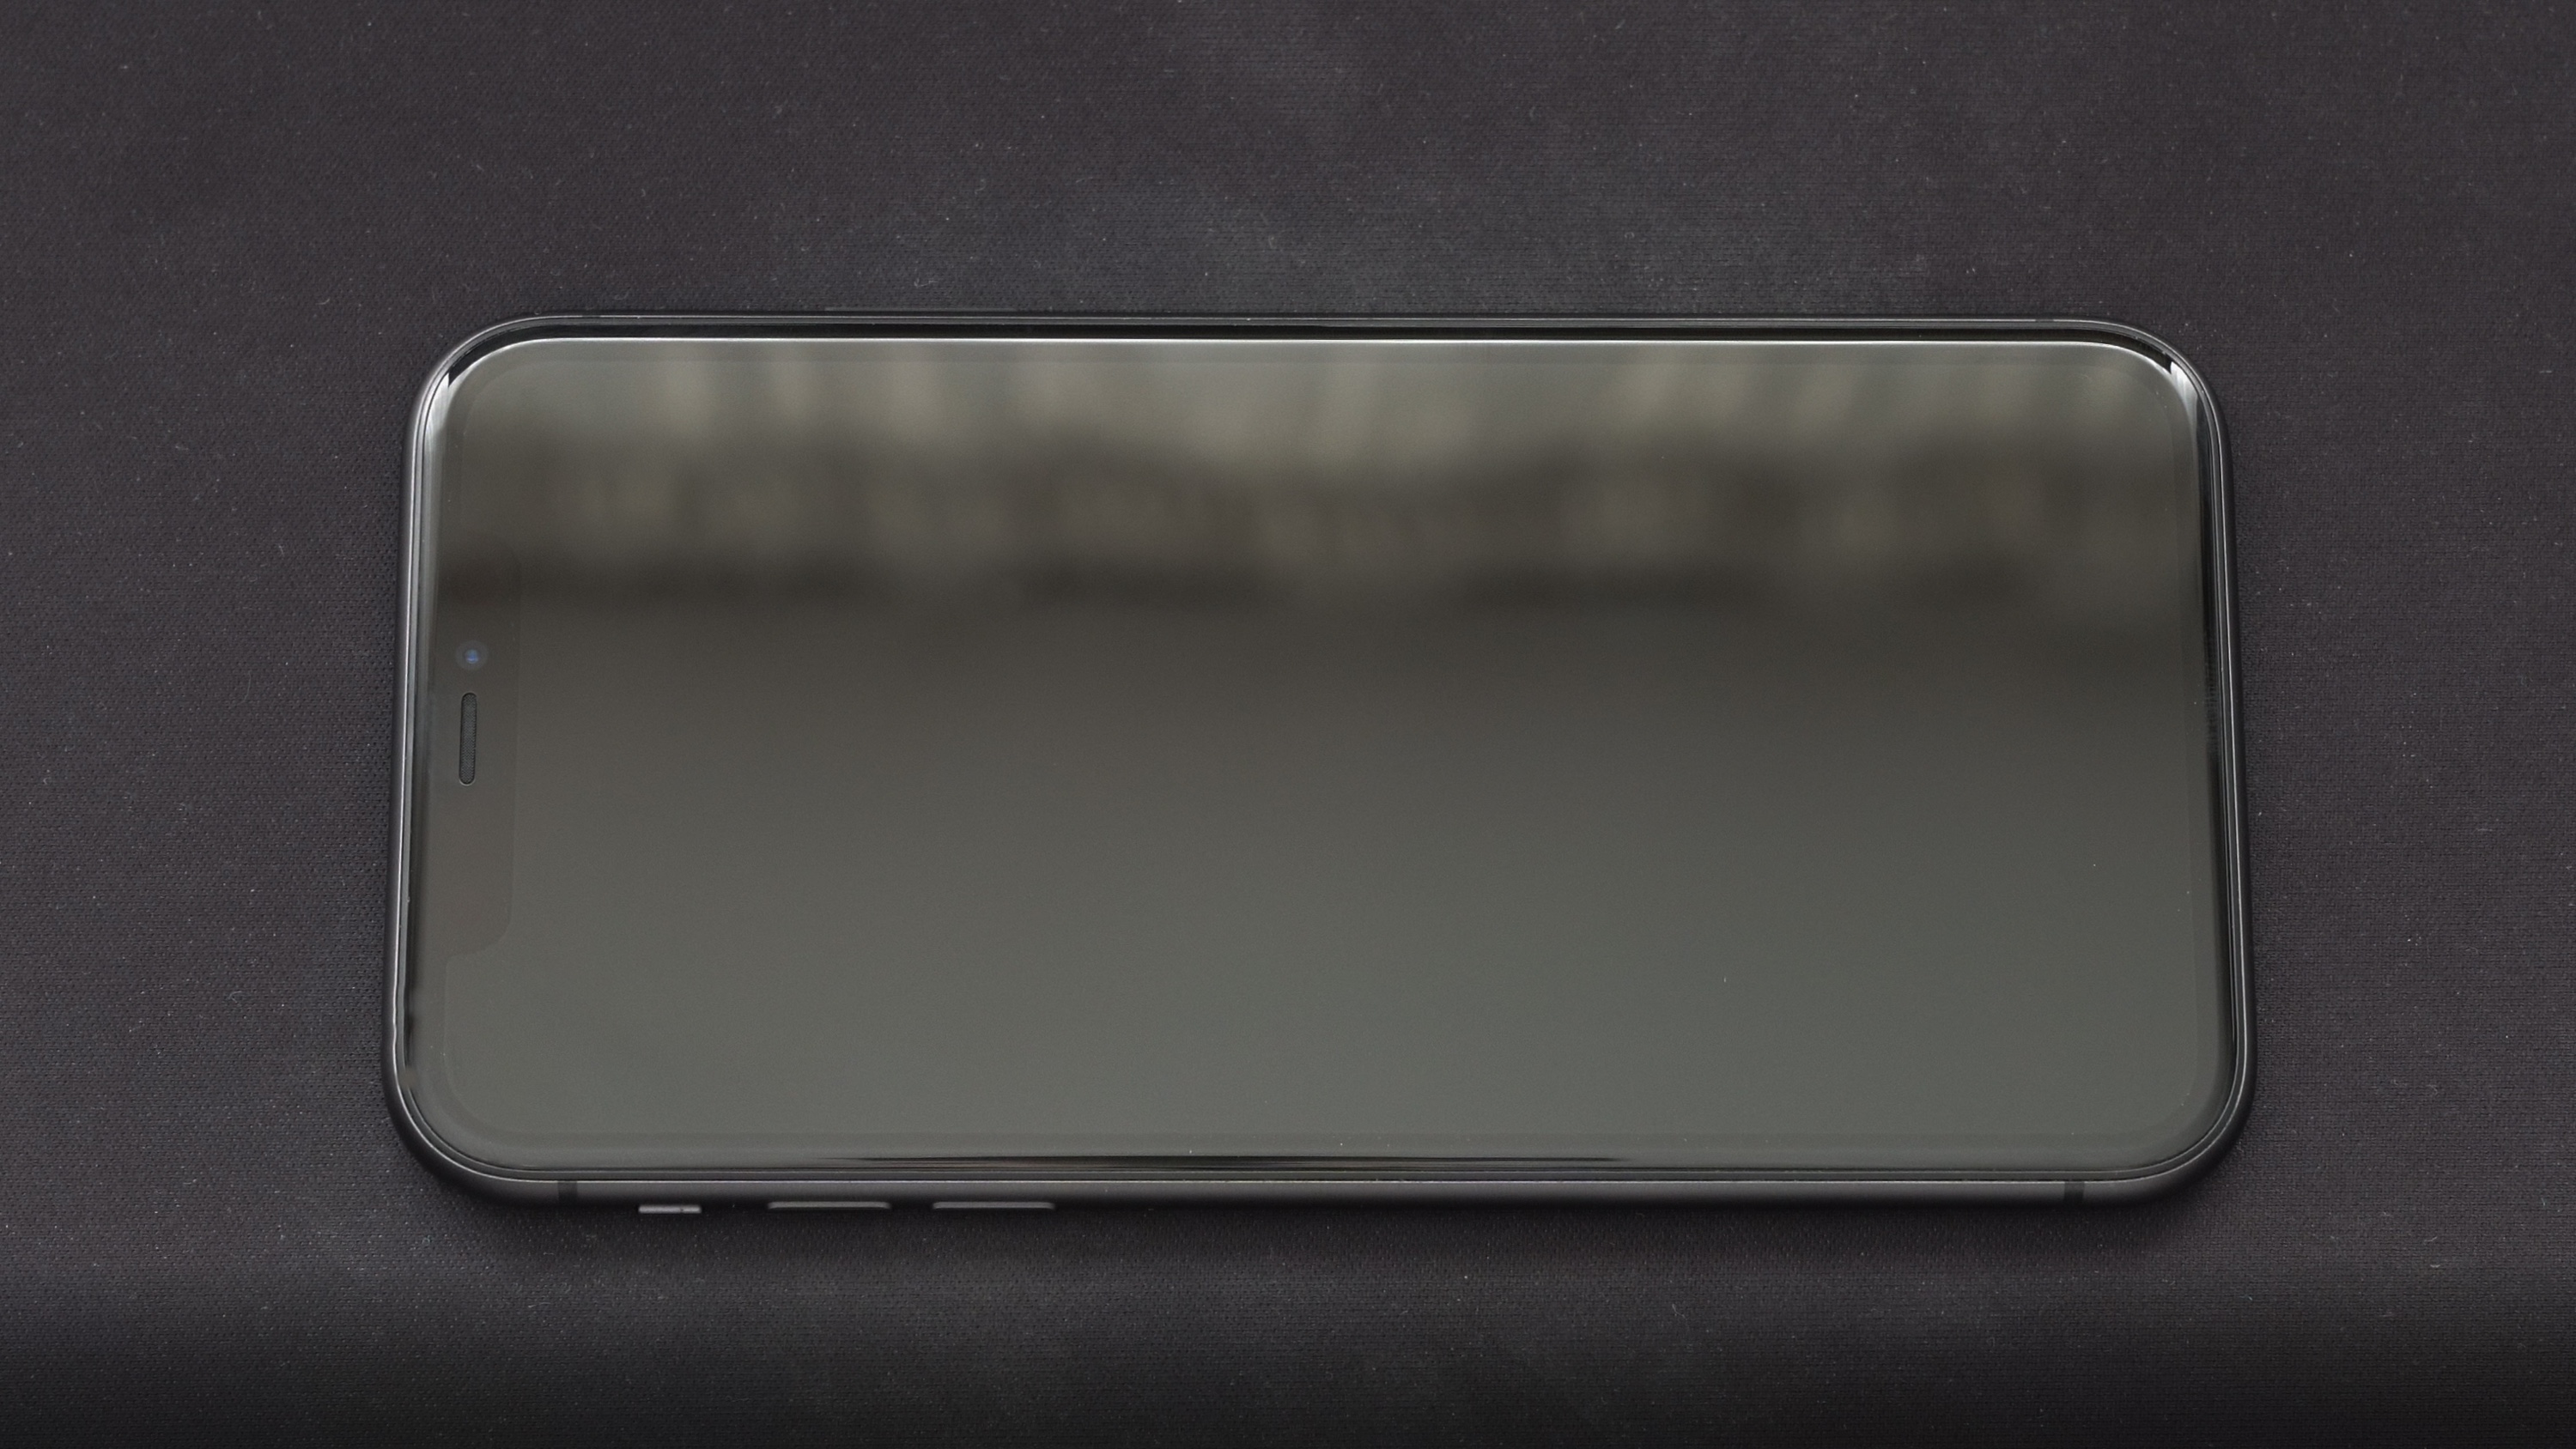
Another theoretically unnecessary step is… setting a light wallpaper on the lock screen, which clearly allows us to assess where the display ends and where the frames begin. Currently, the vast majority of phone models are a black pane of glass, on which it is impossible to stick the glass «by eye,» hoping that we hit the center. The illuminated edge of the display will give us a hint of a reference point, thanks to which we will have a better chance of symmetrical installation. It is also worth applying the glass to the screen «dry,» even before removing the film – this will allow us to assess how we should «aim» in the final stage of installation.
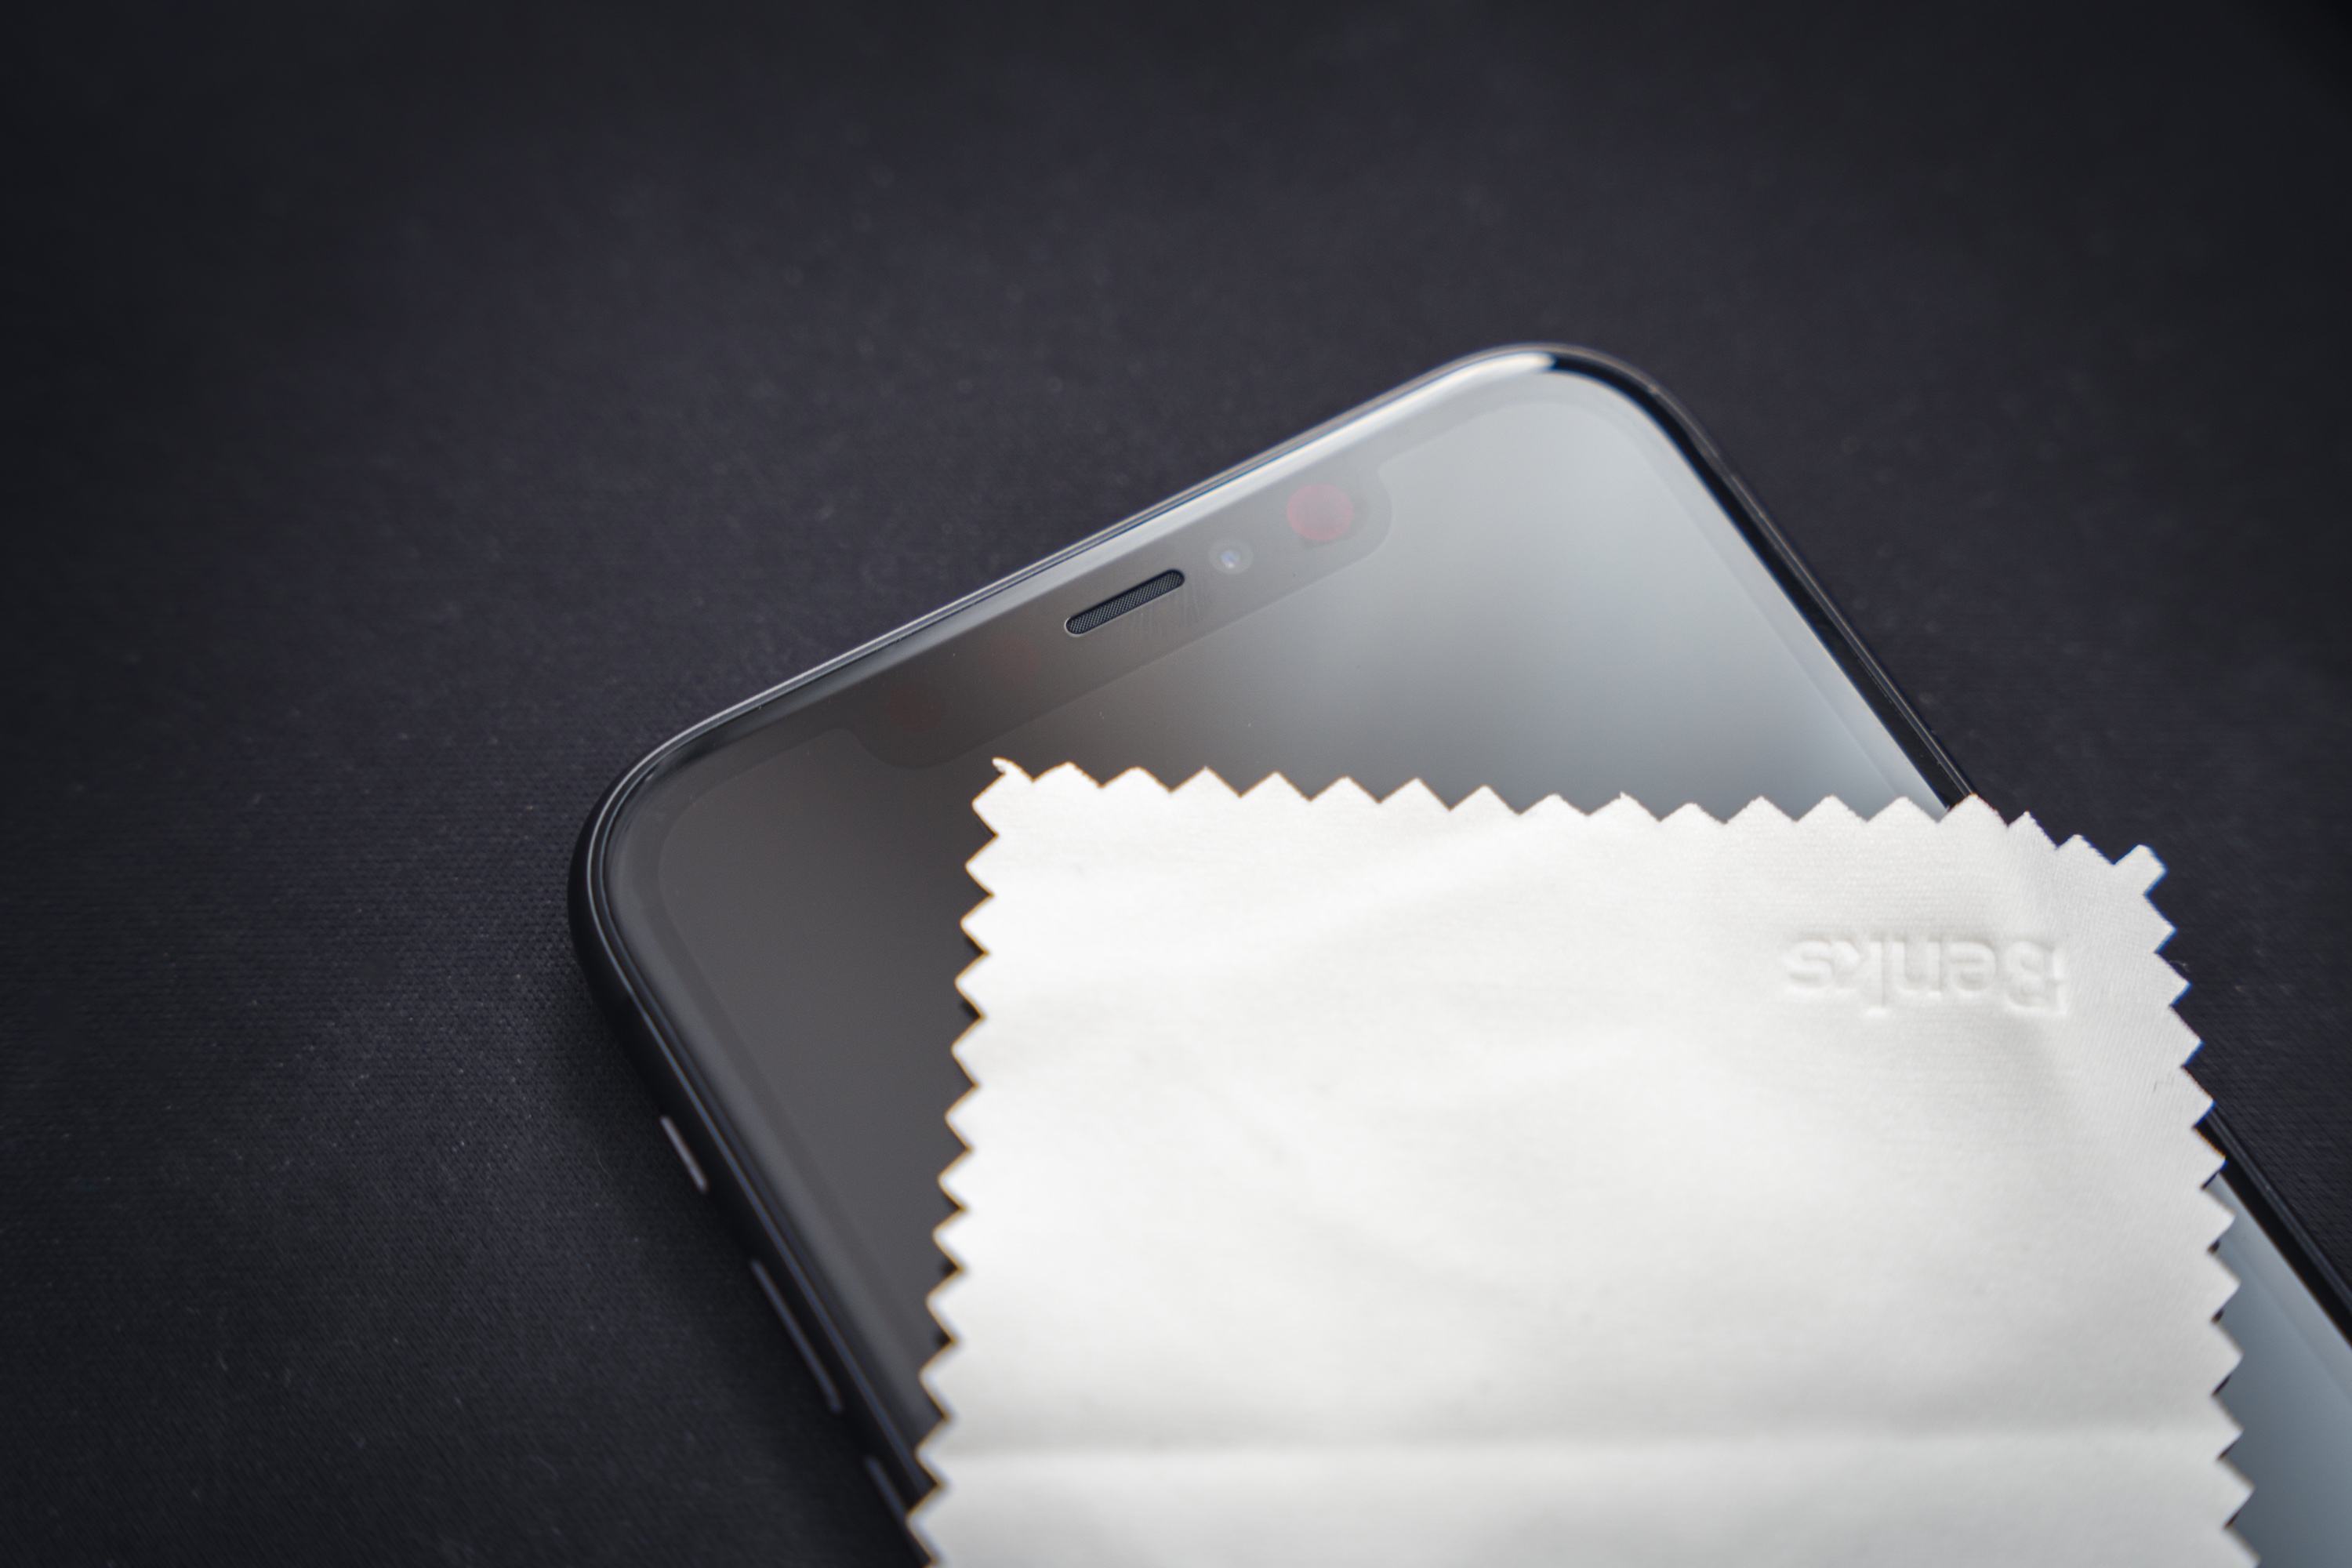
Before proceeding directly to the application, we must also ensure the most thorough cleaning of the screen. A cloth soaked in alcohol will come in handy here. Don’t worry if numerous droplets of liquid remain on the screen after this stage – the set also includes a dry equivalent, which we use to wipe the damp surface. It is very likely that despite this, there will still be noticeable specks of dust on the display – we try to remove them by «sweeping» them with the cloth, preferably towards one edge. As mentioned earlier, microfiber cloths will definitely make this easier, although they are not essential.
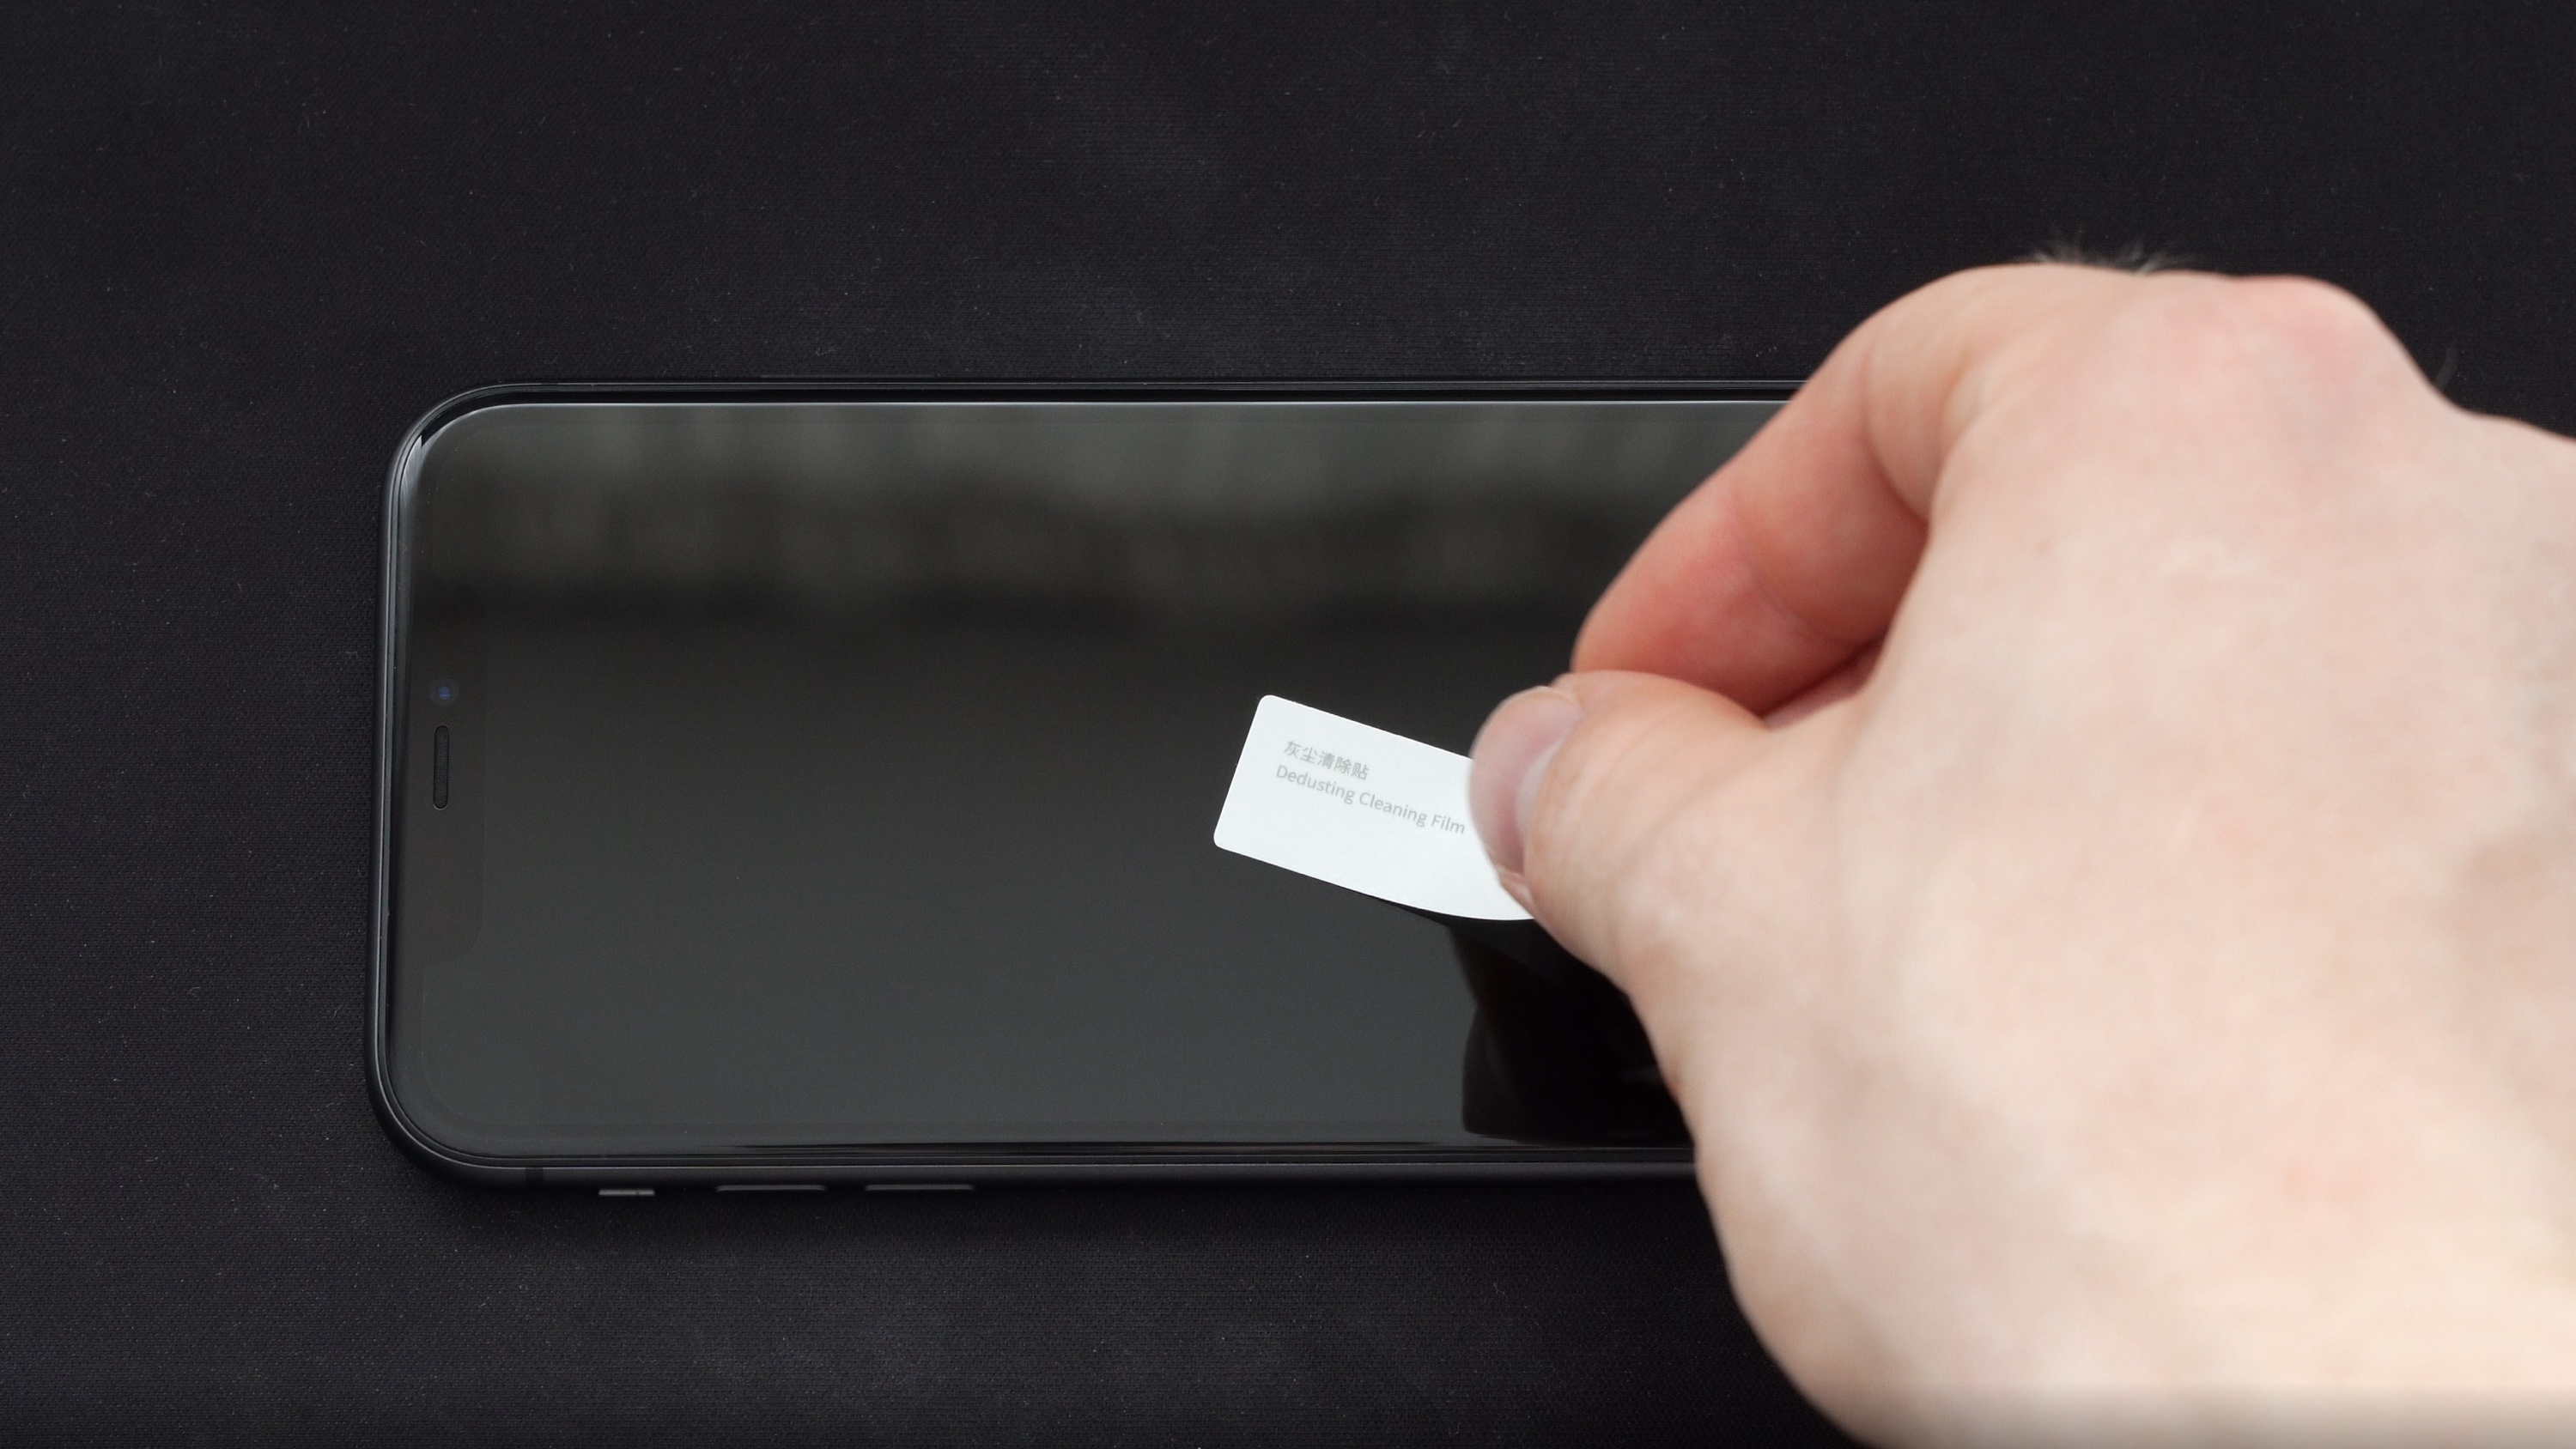
You have probably noticed that there were tiny, funny stickers in the glass set. They are covered with a very thin adhesive layer – used to gently «tap» away the pesky dust particles that we couldn’t force to leave the screen surface with a cloth. Just apply it to the display, holding the other end with your fingers – the dust will stick to the sticker, and no trace will remain on the screen.
If the screen has already been cleaned, all that remains is to press the lock button – this will wake the screen – and then pull the tab of the protective film covering the adhesive layer of the glass. This should be done with a swift motion, without unnecessary delay – remember that every second of this stage is a chance for unwanted dust particles to settle on both the screen and the already exposed adhesive layer of the glass.
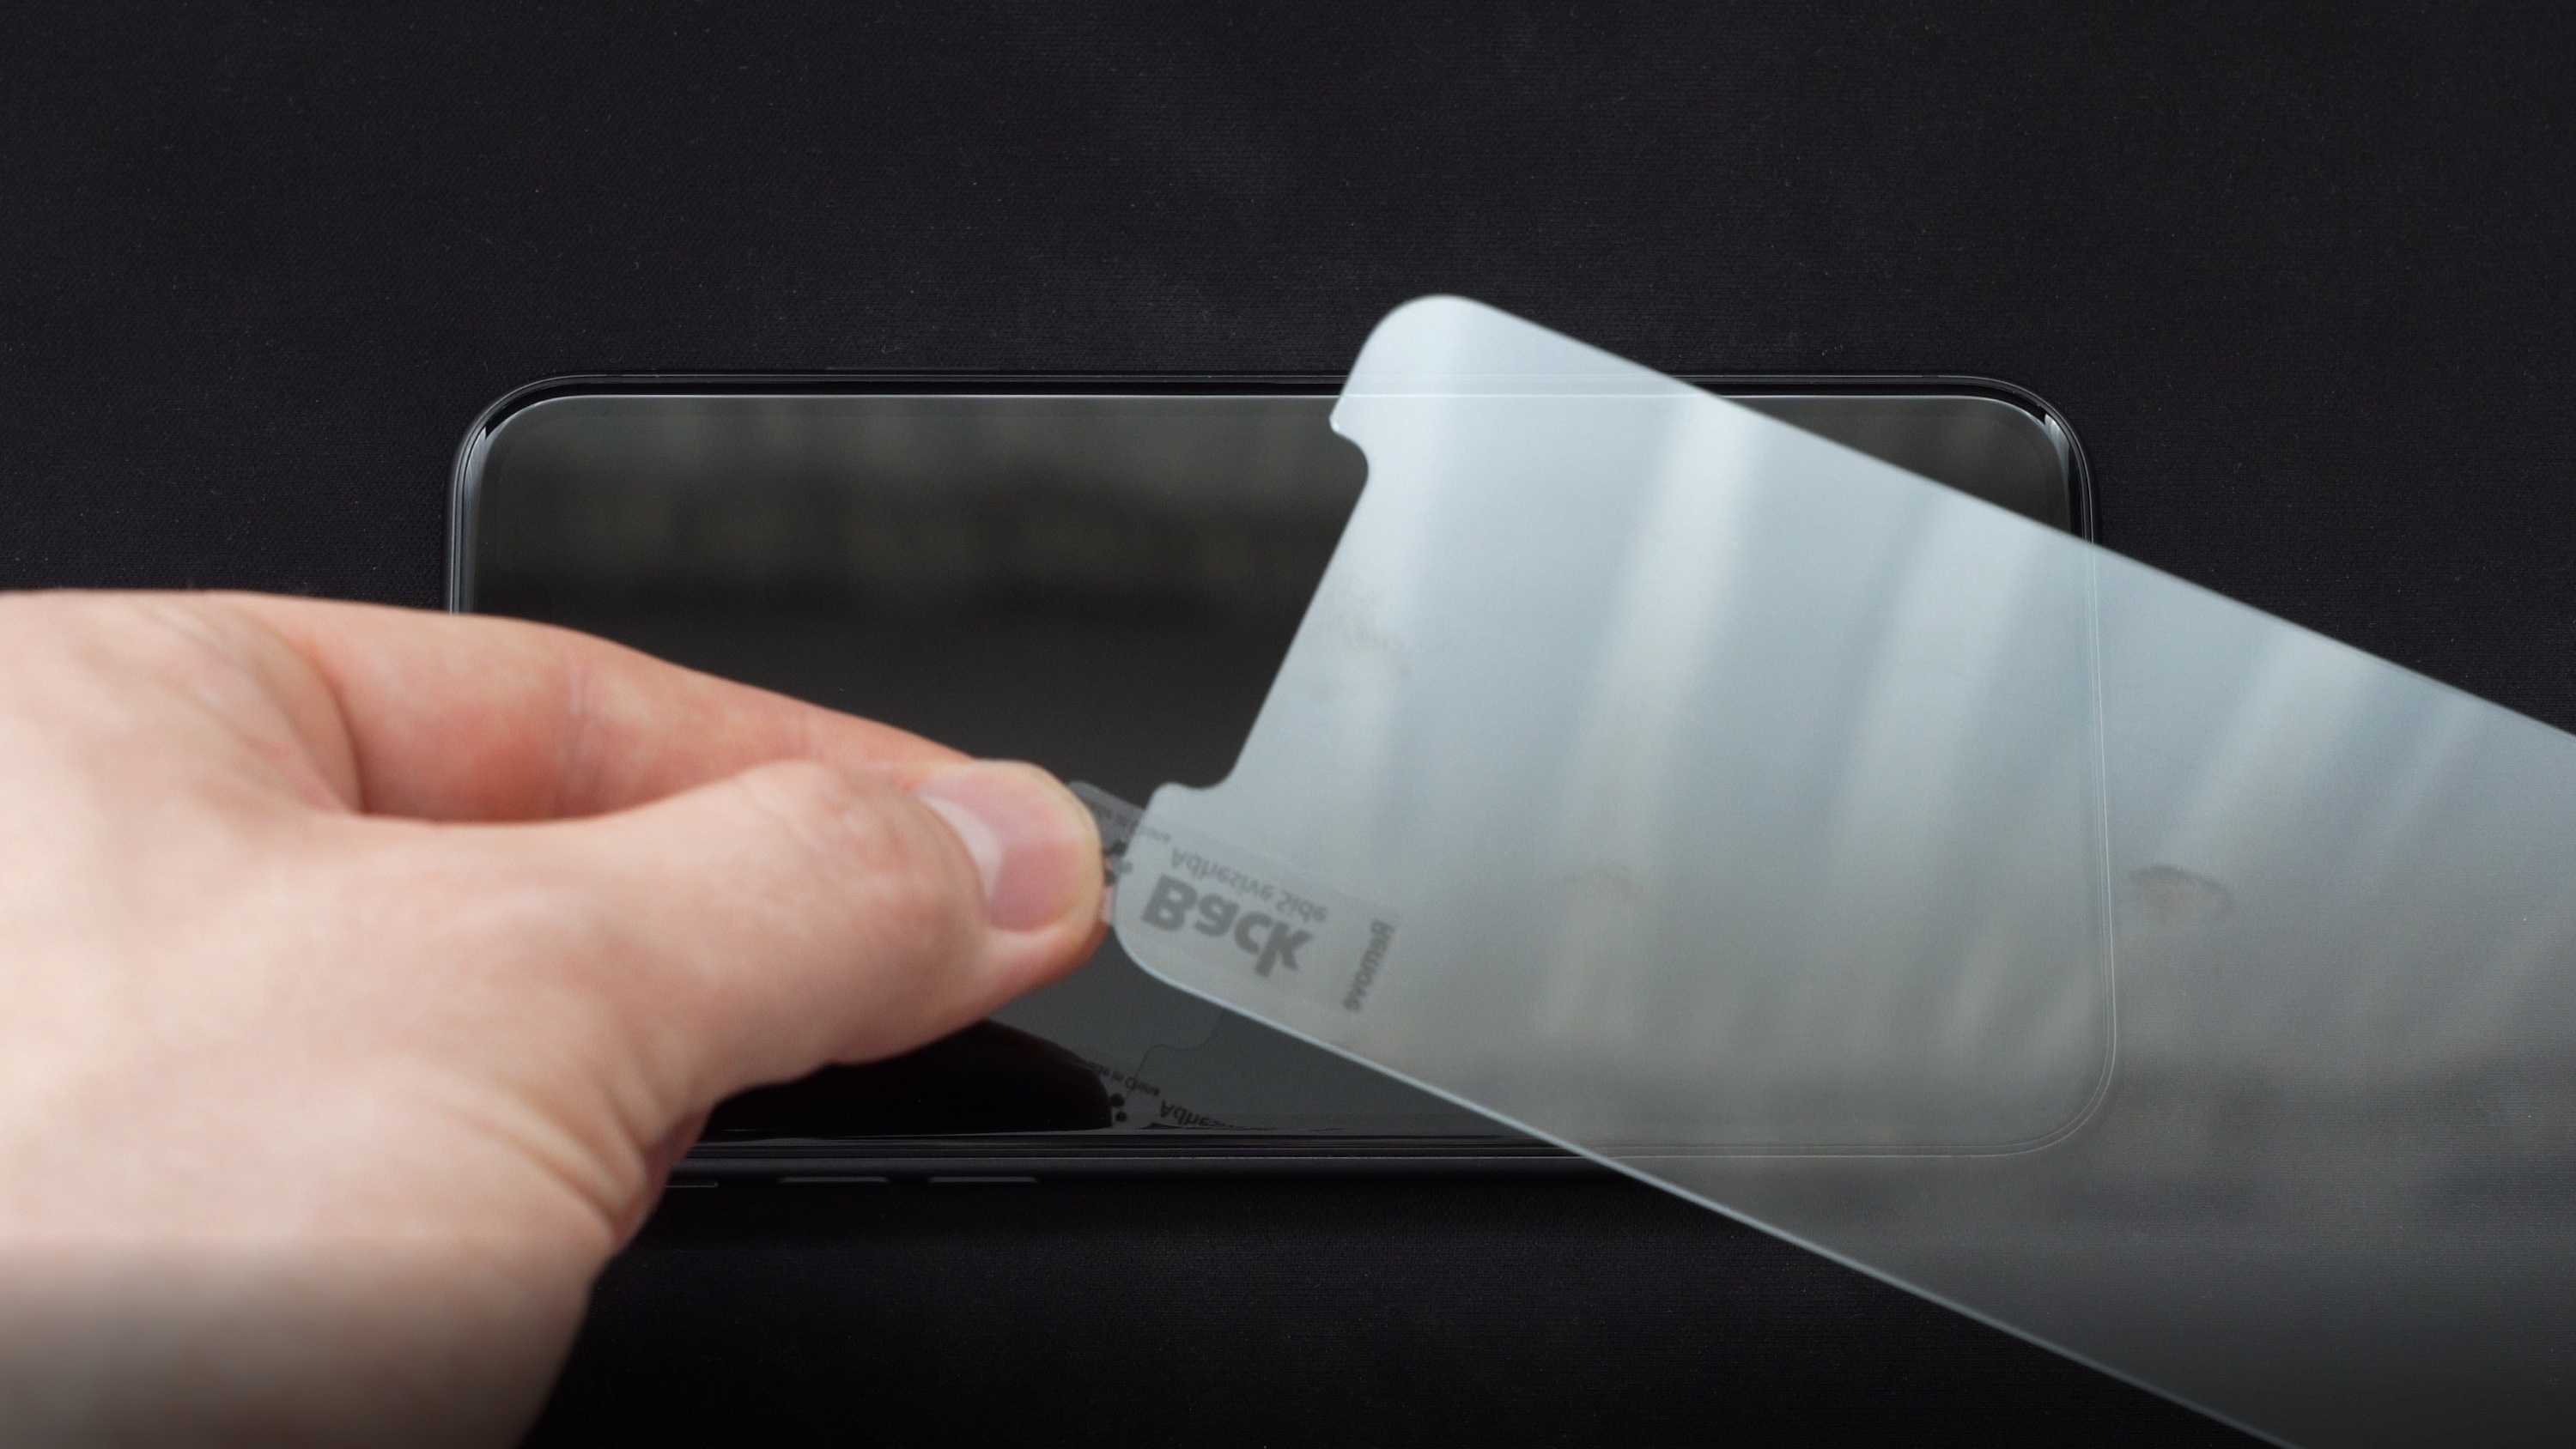
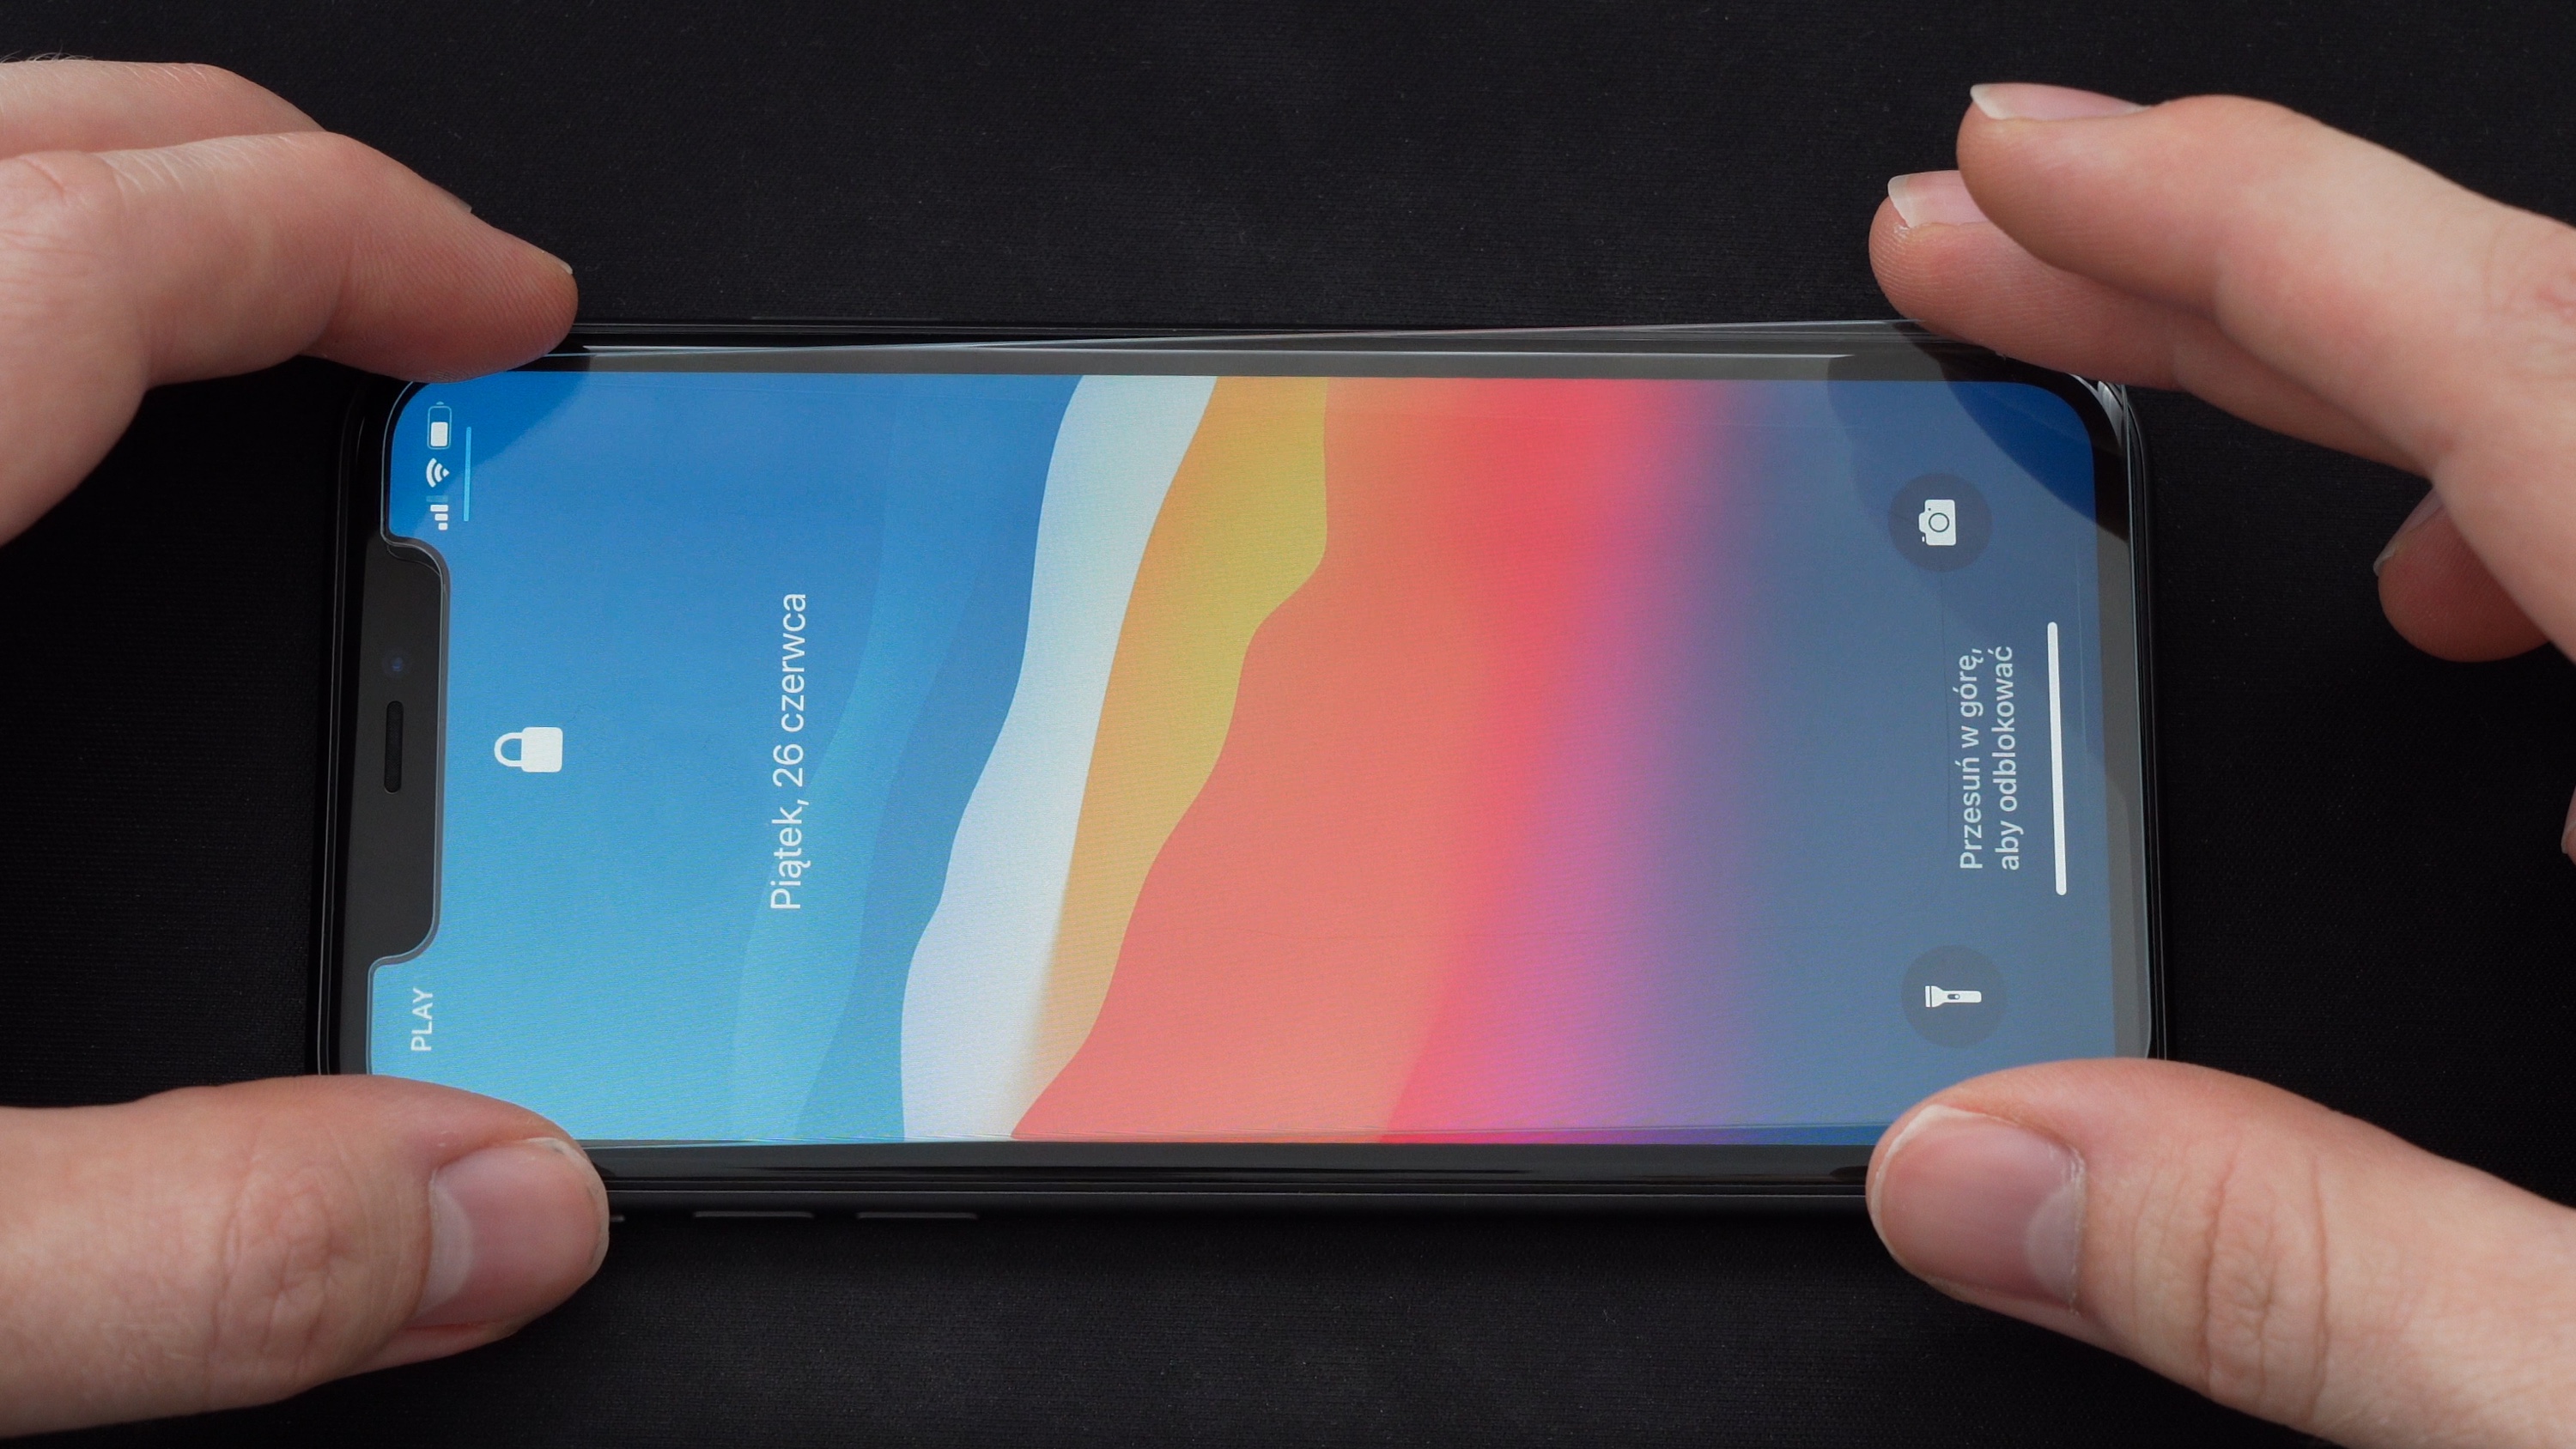
Holding the glass by the corners (most conveniently with the thumb and index finger), we apply it to the screen, starting from the top edge of the phone (the top – as the one with the speaker and cameras). We find the center of symmetry – so that each edge of the glass is at roughly the same distance from the edge of the display. This requires the most focus during the entire process of applying tempered glass – it is worth taking a moment to ensure that the distance of the glass to each edge of the screen is as close as possible. We evenly lower the bottom part of the glass, trying to maintain a straight line of the glass in relation to the longer sides of the phone.
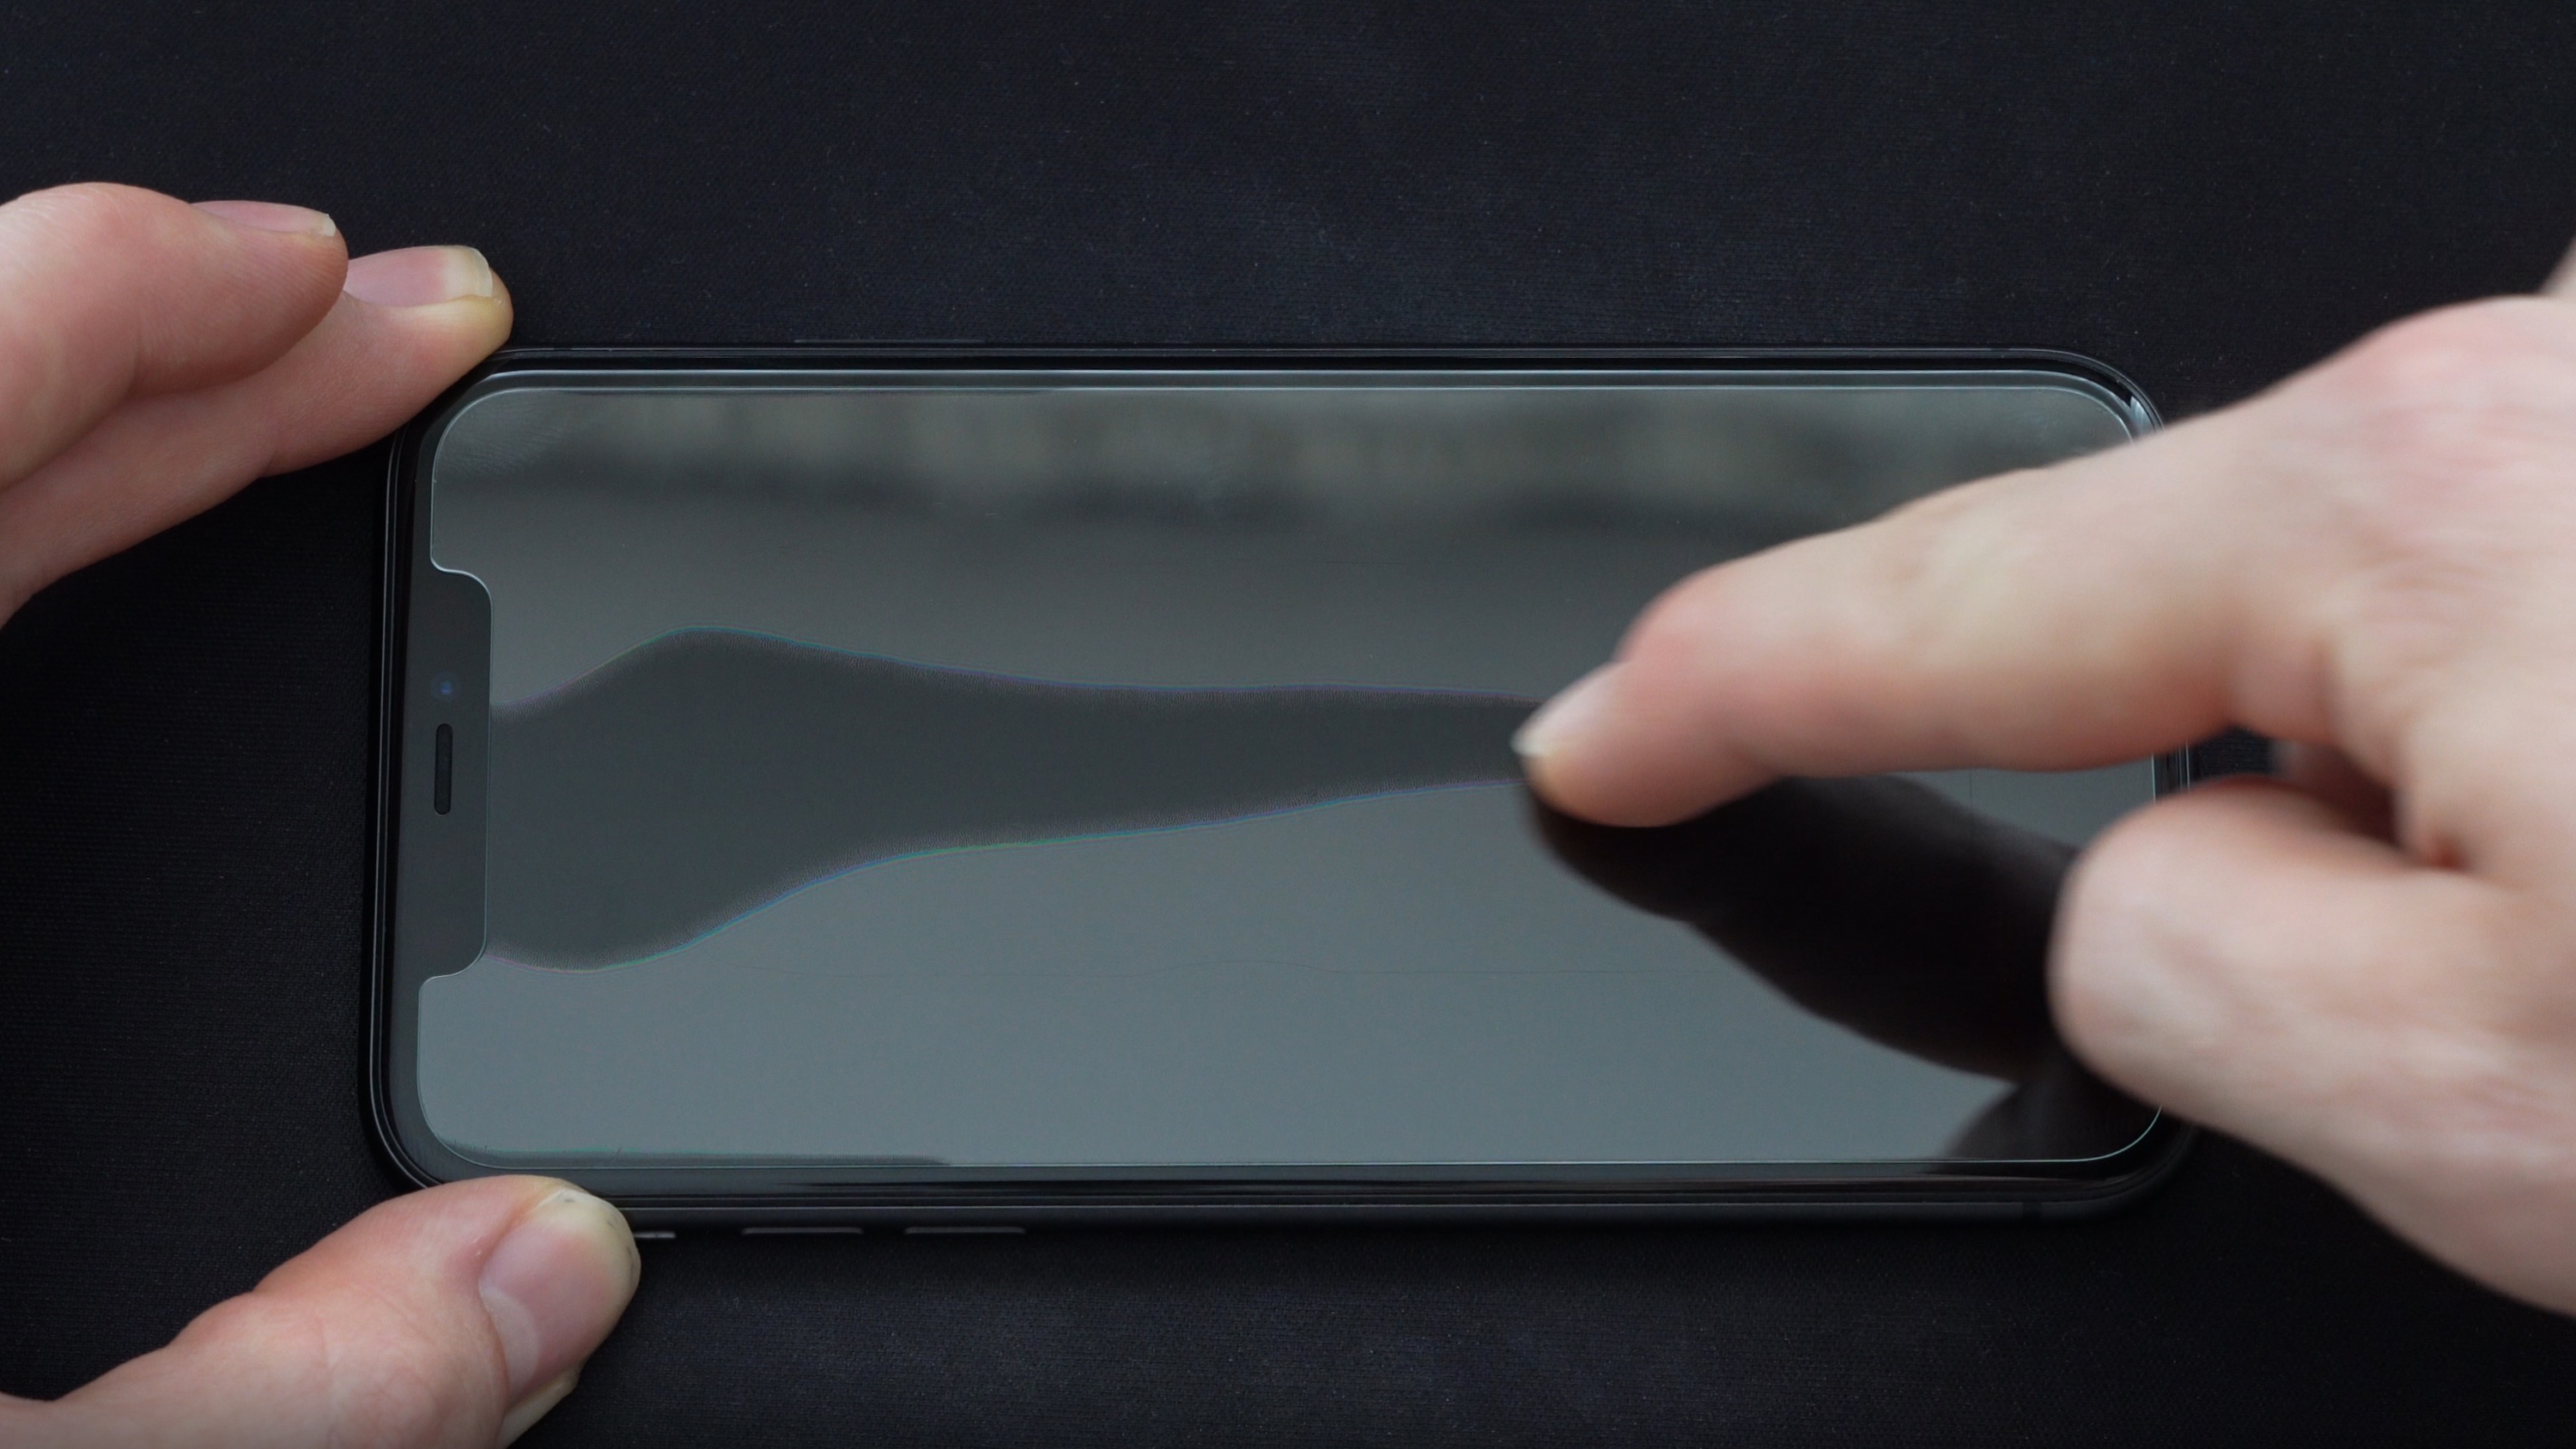
After the glass has fully settled, we can assess whether the effect is satisfactory and whether any dust particles have found their way under the glass. If nothing of the sort has occurred – we gently press the glass, sliding our index finger along its length – which will bond the adhesive layer of the glass to the screen. If there are air bubbles remaining – we push them out with a cloth/finger beyond the edge of the glass.
If, however, the applied glass has «slipped» towards one of the edges more than we would have liked: in practice, one should not peel off the already applied glass – bending it too much may result in cracking, and it is also easy to damage the edge of the adhesive layer by prying the glass with a fingernail. If, despite everything, we feel capable, and the glass has not «stuck» strongly to the screen – we can gently pry it up and move it, trying to detach it from the screen surface as delicately as possible. Again, it will be helpful to wake up the display with a light wallpaper, which will highlight its edges and allow for a more accurate assessment of the symmetry references.
The same situation applies to the unfortunate dust particles that somehow found their way under the glass. One might attempt to gently pry the edge of the tempered glass with a fingernail (trying, however, not to go too deep into the adhesive part of the glass) – and then insert the second sticker there, which we previously used to remove dust from the bare screen, trying to catch the unwanted intruder on the adhesive. This maneuver, however, requires surgical precision – it is very easy to damage the glass itself, the adhesive layer, or, ironically, let in more dust. It is absolutely not recommended, although if your aesthetic sense does not allow you to befriend that unwanted object between the protective glass and the screen – it is still a method. 🙂
The final effect should look something like this.
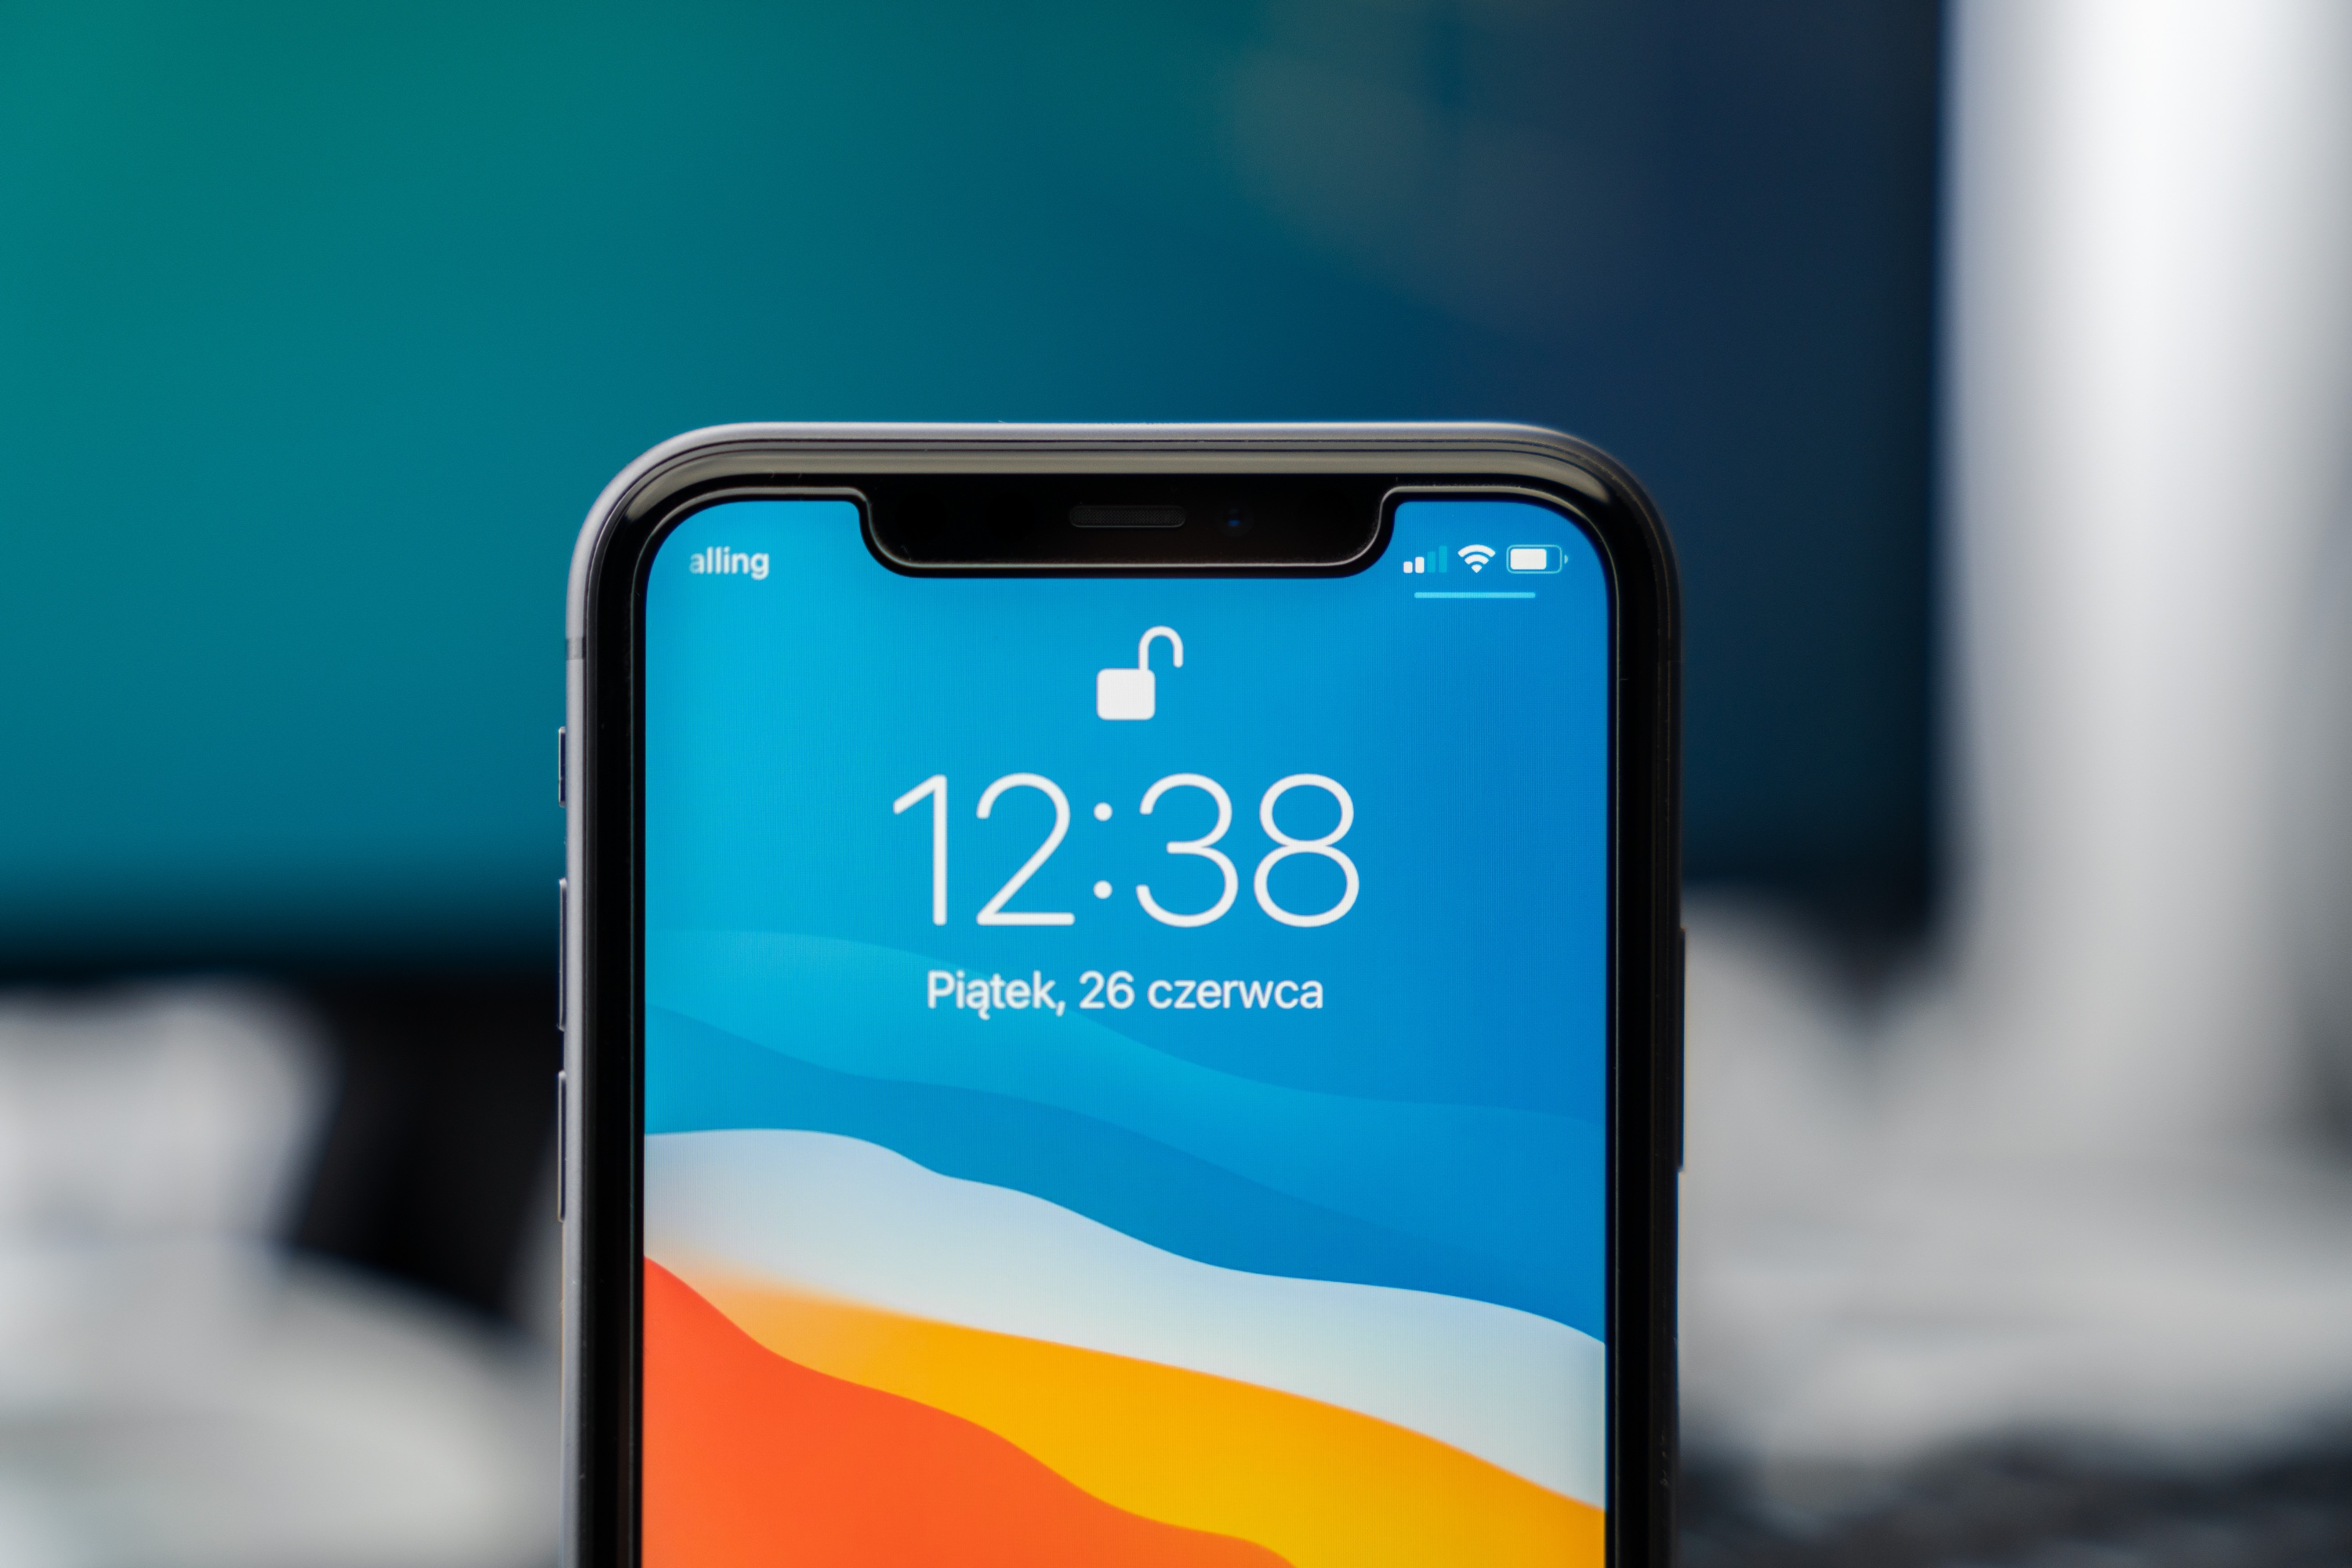
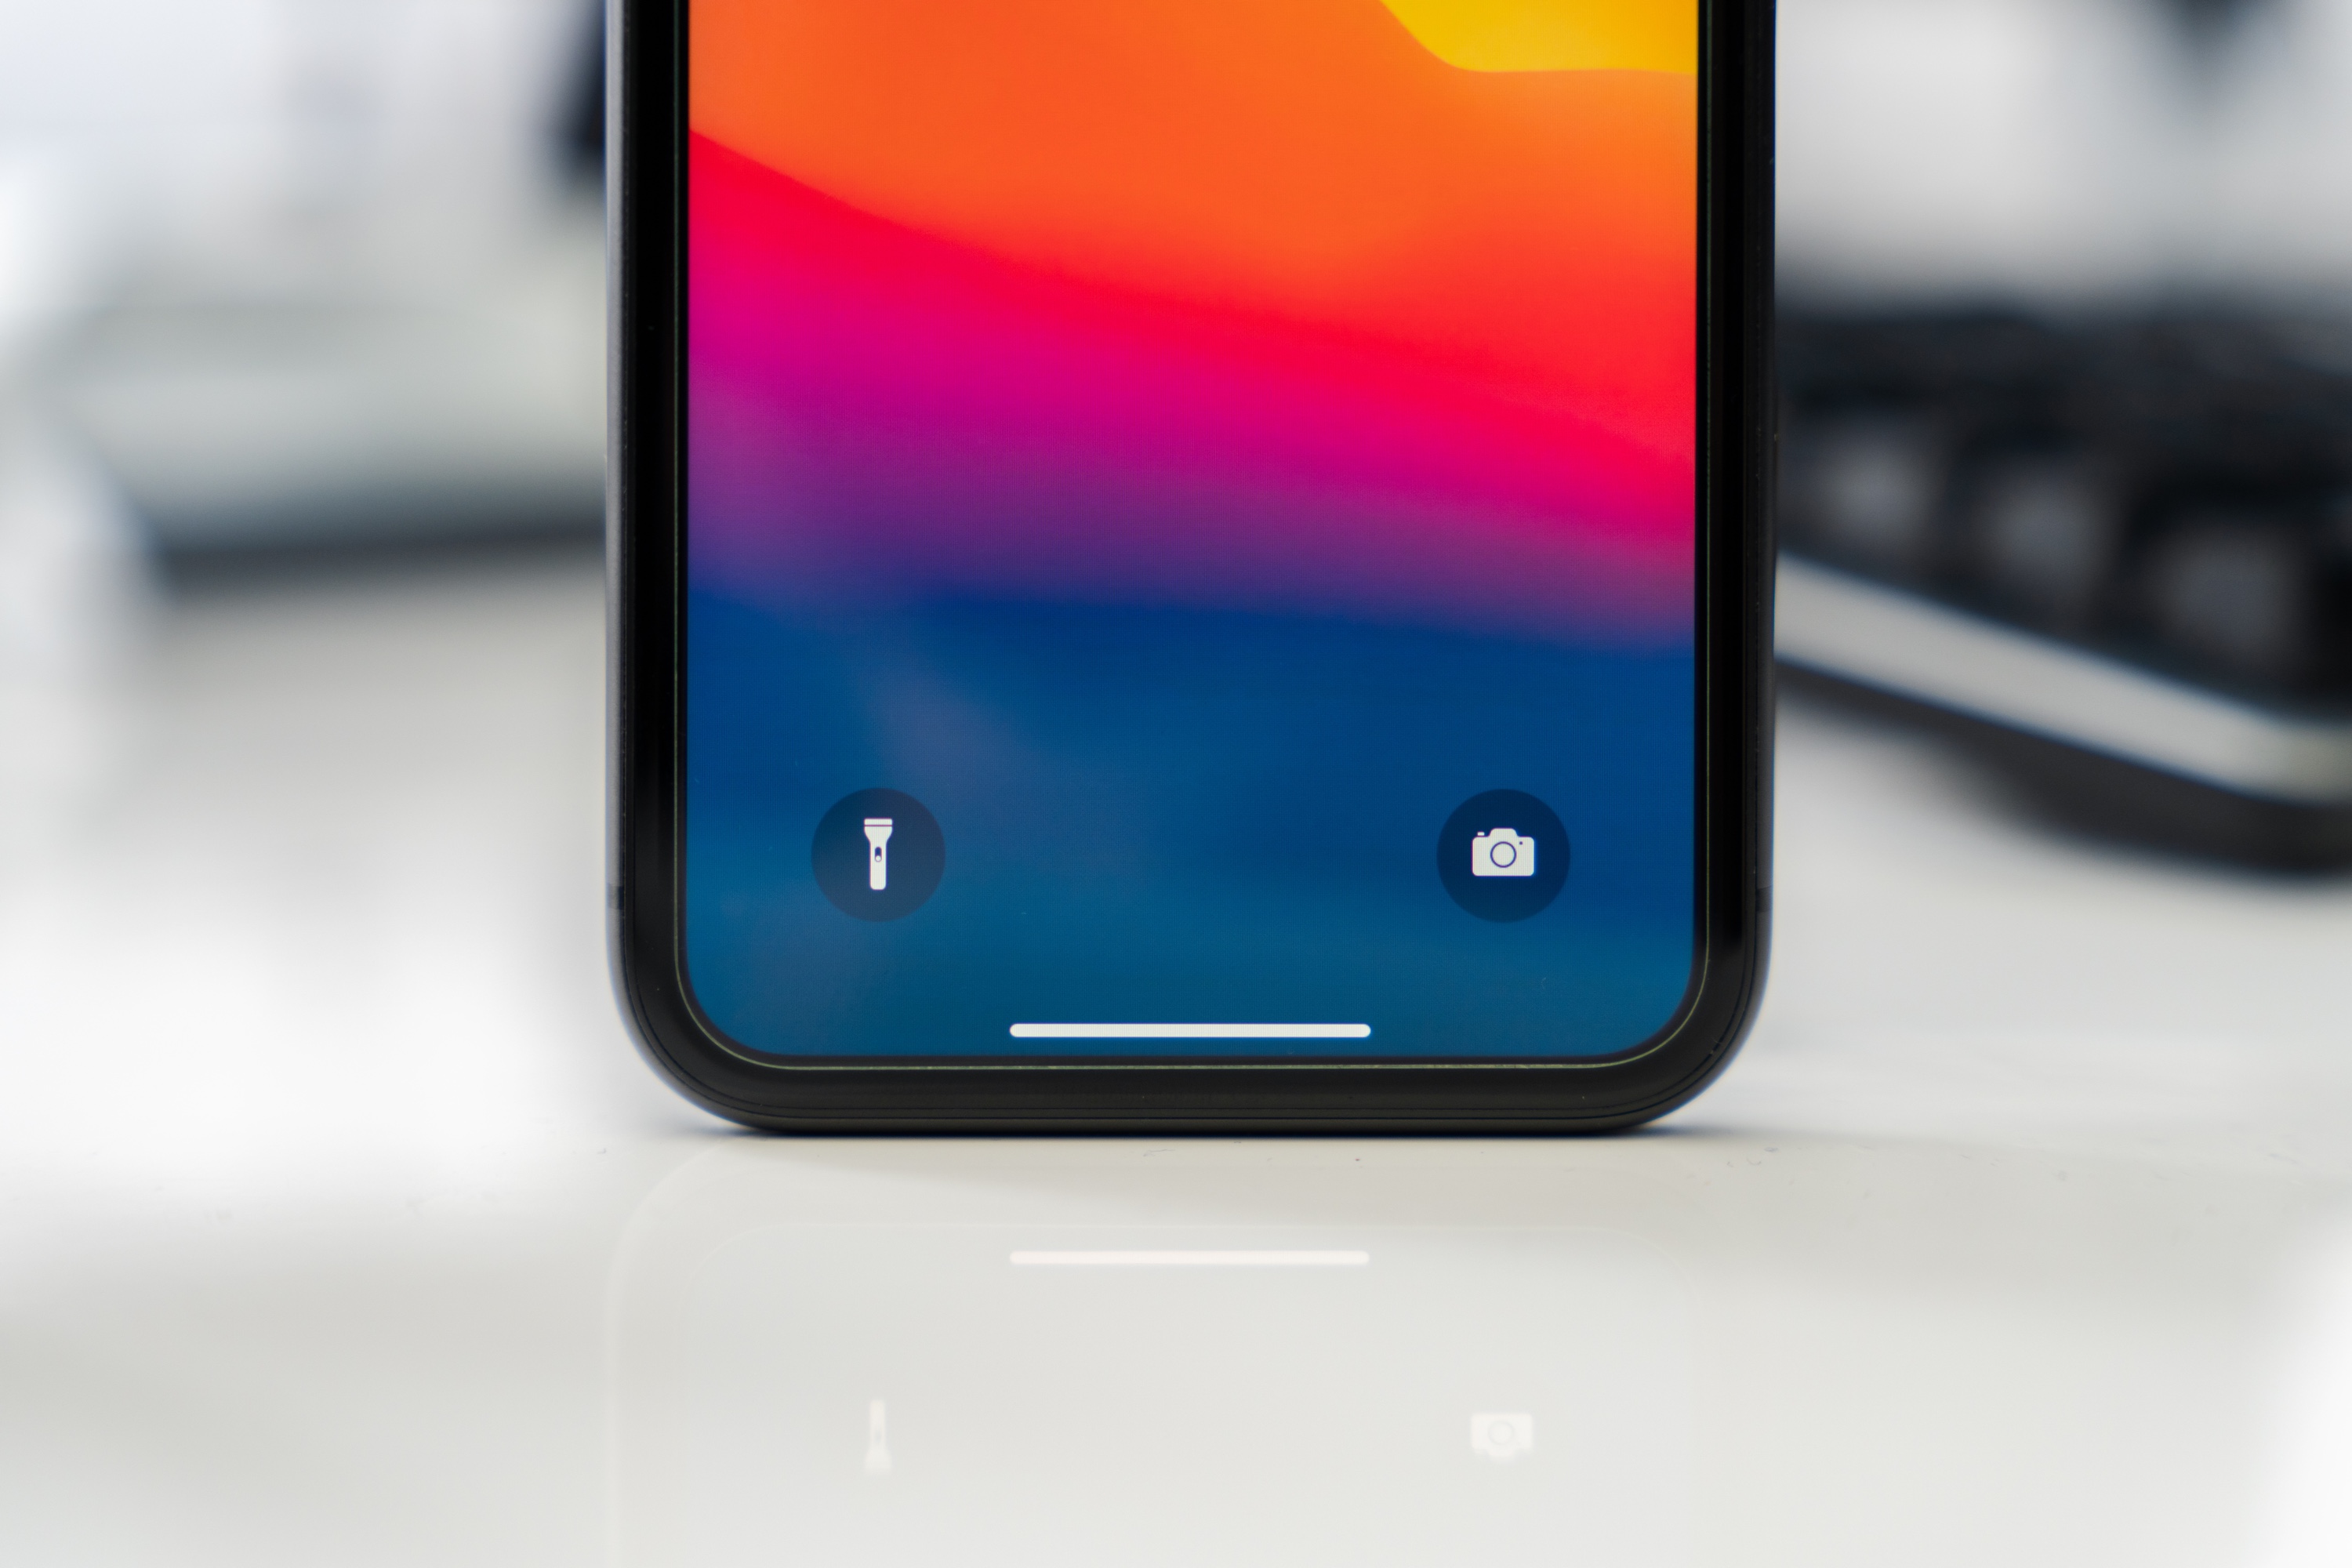
If you managed to get close to it – heartfelt congratulations, let us know in the comments: we will prepare a diploma for a certified glass installer, which will undoubtedly earn respect and recognition among family and friends. However, if something went wrong along the way – don’t worry, next time you will draw conclusions from this. 🙂 Practice makes perfect!
Legg att eit svar